


6 Tips to Improve Iphone Landscape Composition
Disclaimer
All the photos in this article were captured in the location that we're going take you to in the Smartphone Photography Workshop on 9/24/2022.
The tips that I'm going to share here apply to camera and smartphone users.
For Iphone/ Smartphone users, you should know your device well. Make sure you know:
1) how to adjust the exposure
2) what the lenses that your phone has (wide/ standard/ telephoto or both)
3) how to control the depth
While Iphones are capable of shooting long exposure photography, it is more relying on the software algorithm to convert a photo to a long exposure shot. Camera users, when it comes to long exposure, will have the advantage of placing ND filters on the lens to cut off the light and slow down the shutter speed.
Tip #1
Timing is the key
The time that you go take pictures in the nature determines your success. Shooting in the middle of the day when the sun is high in the sky will be the worst option ever, because the light is too harsh and the shallow is not angled down enough to bring out the texture & depths of the subjects.
The best time to shoot landscape photography is
- Sunrise
- 30 minutes or at most hour after sunrise
- 1-2 hour before sunset
- Sunset and
- 15 minutes after sunset (Magic Hour).
During these periods, you'll get:
- Softer lighting
- A colorful sky
- Defined, longer shadows that enhance the texture and depths of the subjects.

Tip #2
The Horizon Has to be Straight
The horizon is the line that divides the sky and the ground.
It has to be perfectly straight in any type of landscape photography to achieve the sense of balance and unity.
A tilted horizon, even though by a tiny little bit, will ruin a landscape photo.
Use an editing software to straighten up the horizon if it is not a perfectly straight one.

Tip #3
The Placement of the Horizon
There are three options to place the horizon on the frame:
- Upper third
- Middle
- Lower third
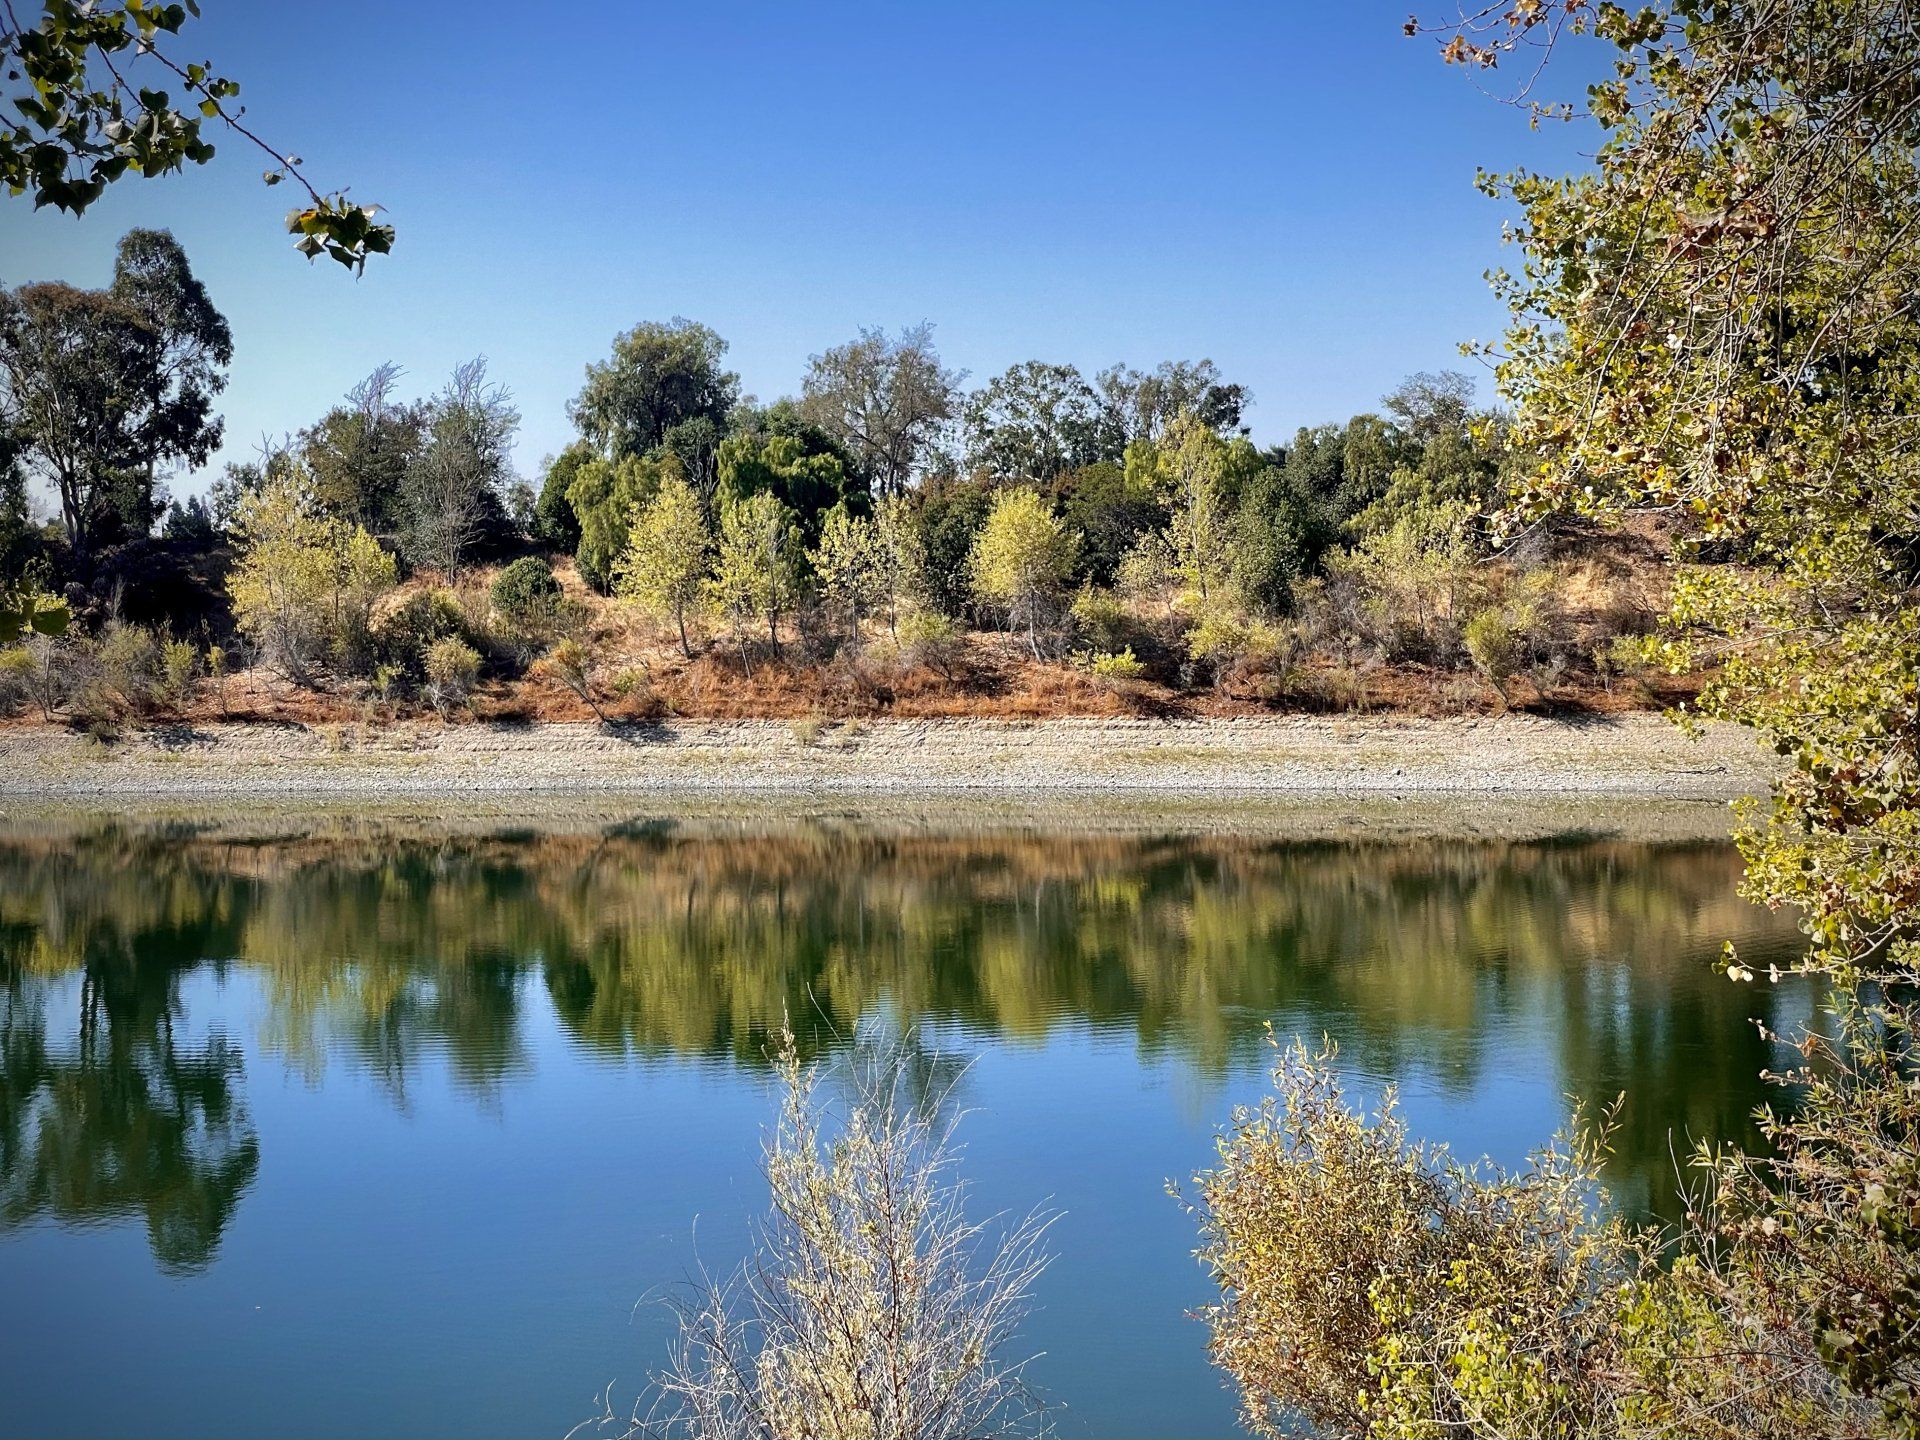
Place the horizon on the upper third of the frame if the ground has more interesting elements than the sky, say a lake, pebbles on a beach and etc.
On the other hand, if the sky is "heavier" and colorful, then place the horizon on the lower third so that the emphasis is on the sky. This usually happens during the sunset when the sky is very vibrant, or on a sunny day that has fluffy clouds in a blue sky.
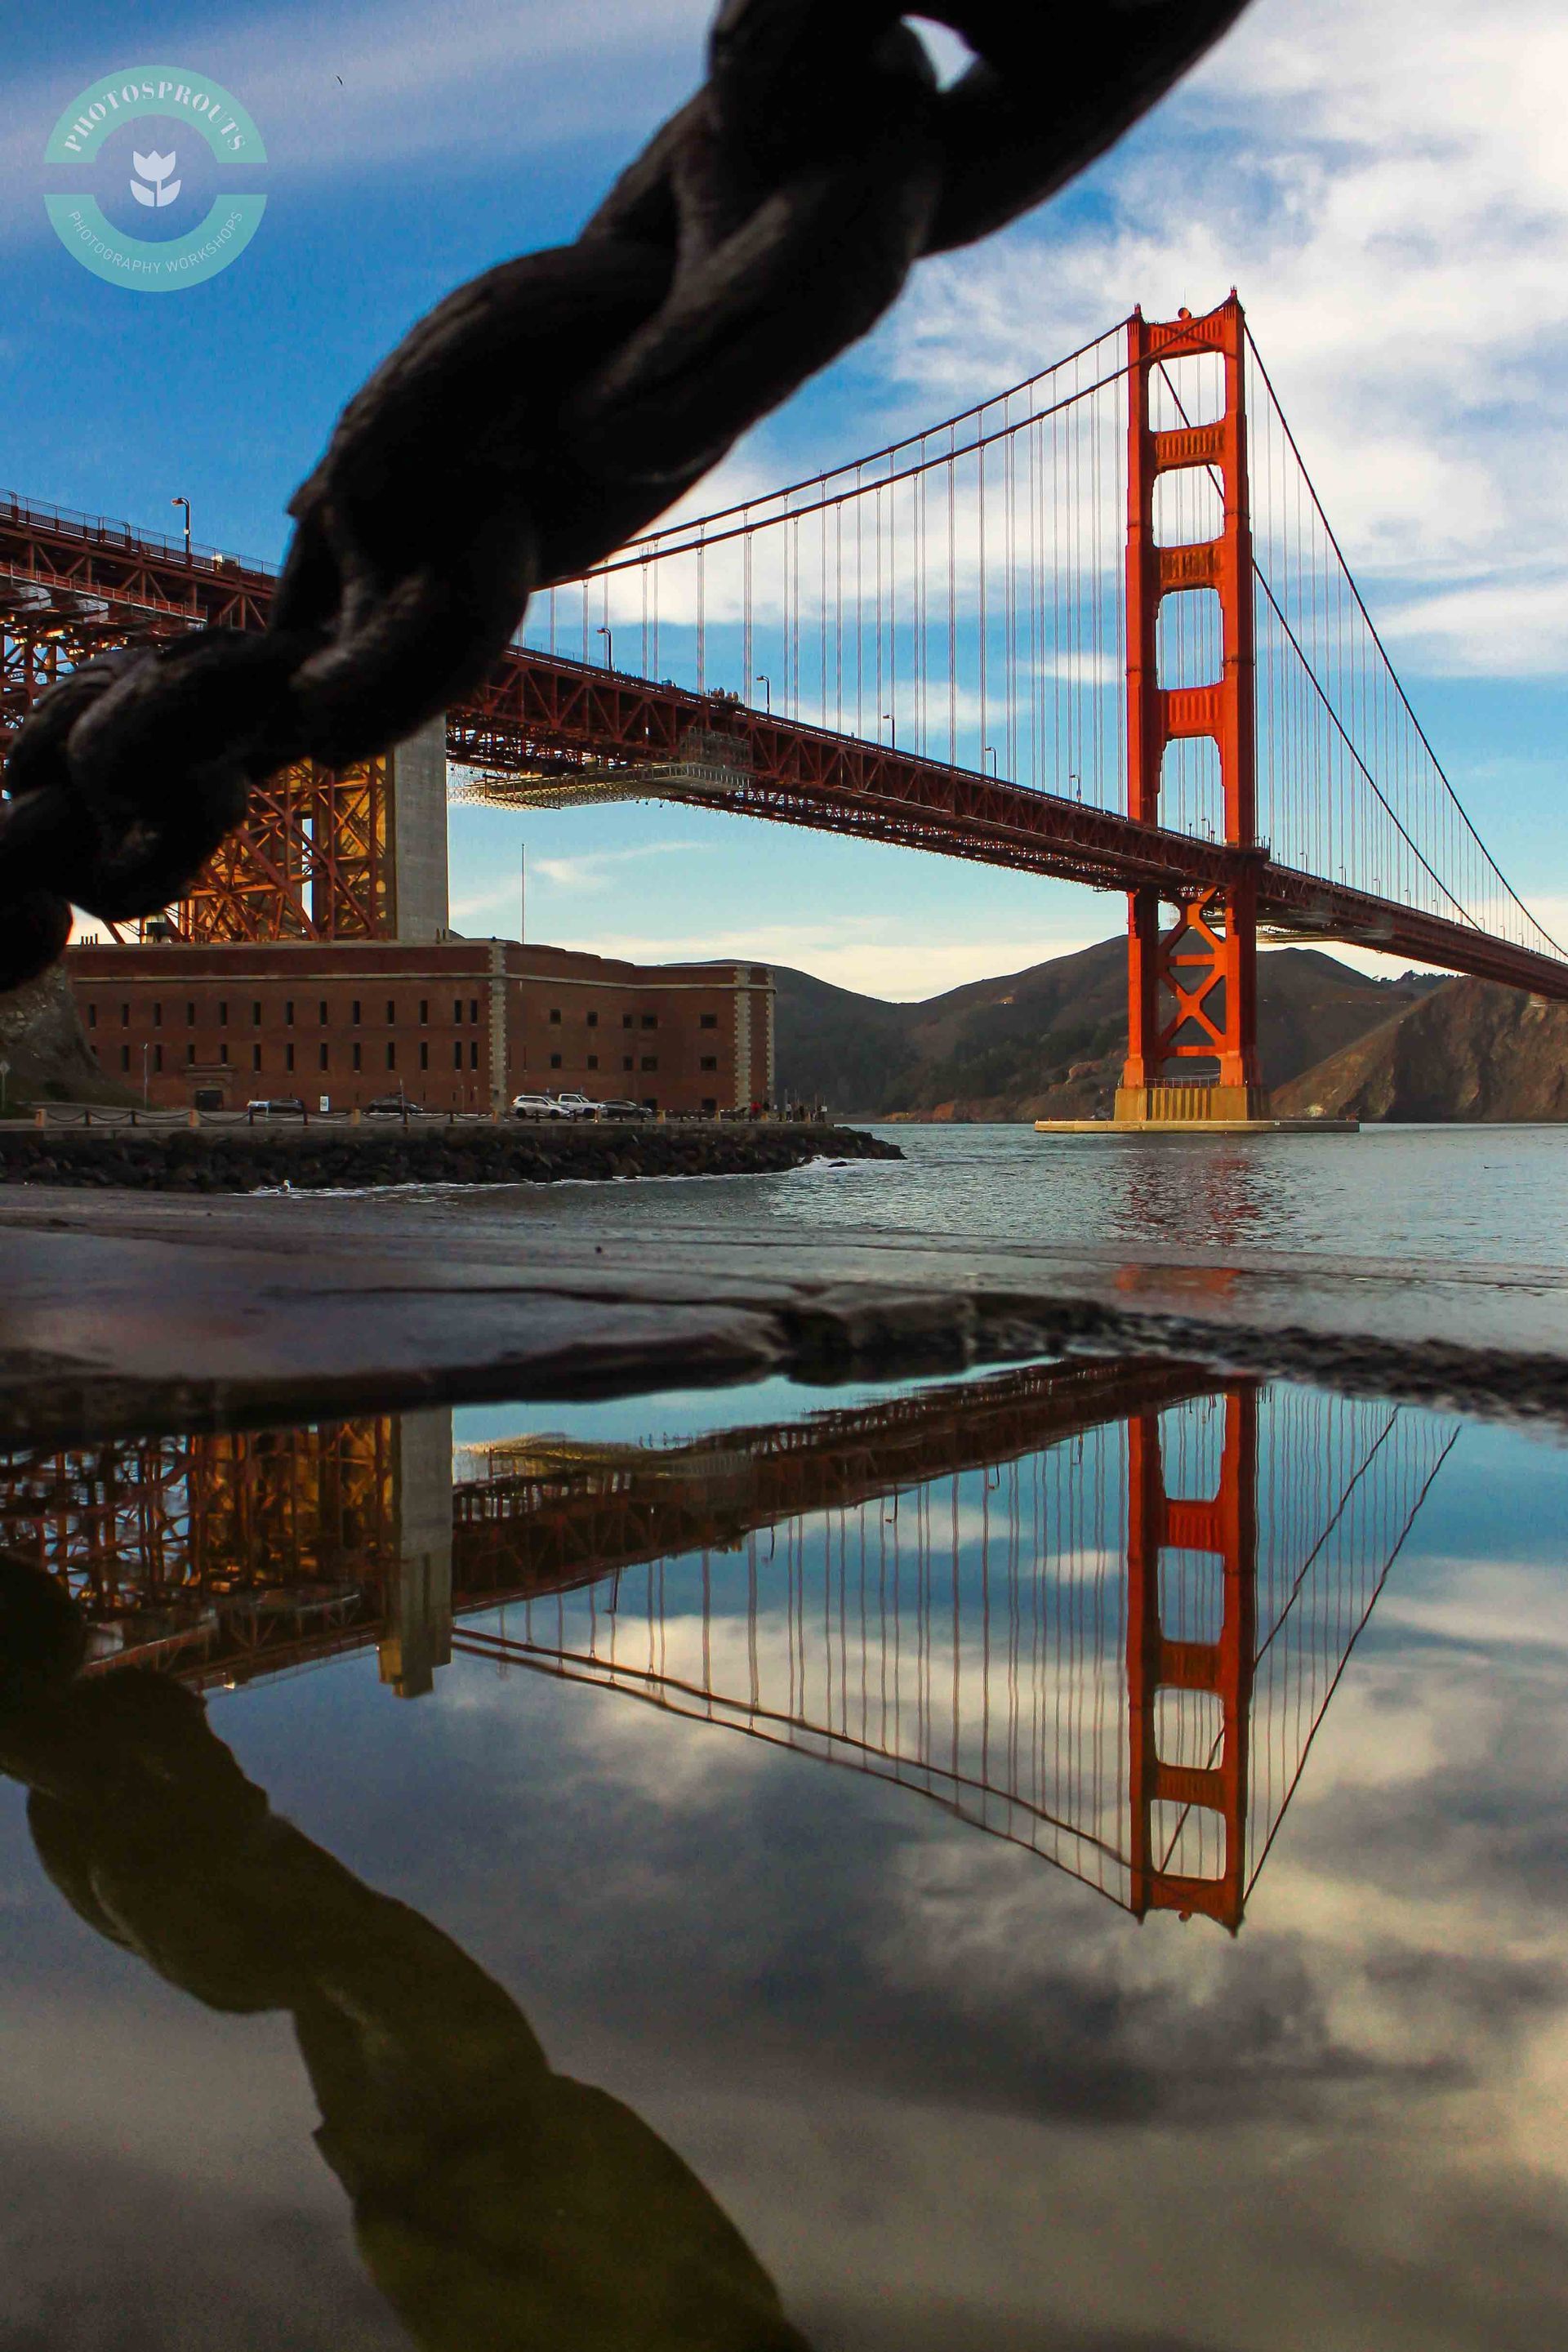
The horizon can be placed in the middle when there's a perfect reflection in the water.
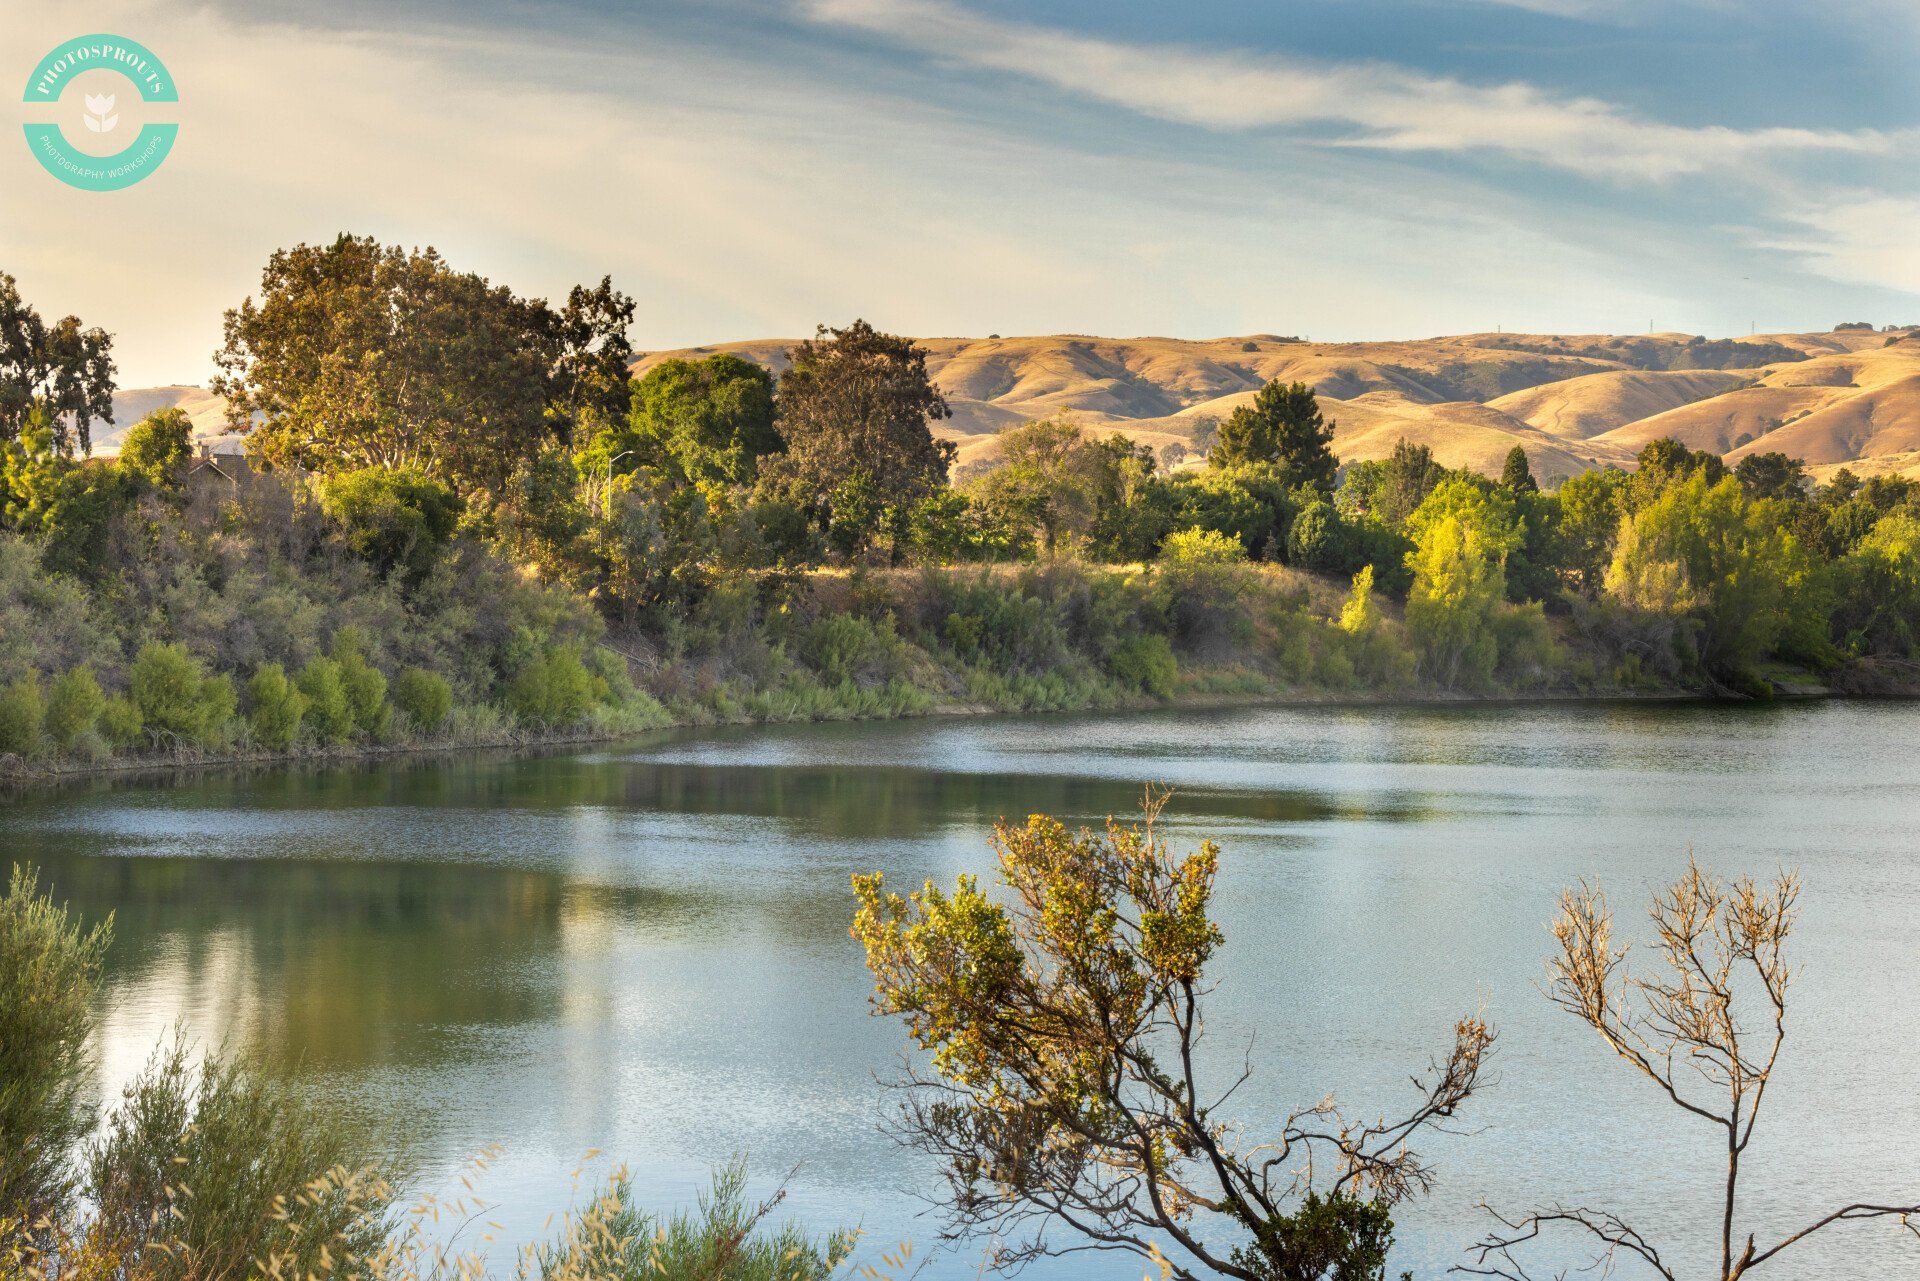
Tip #4
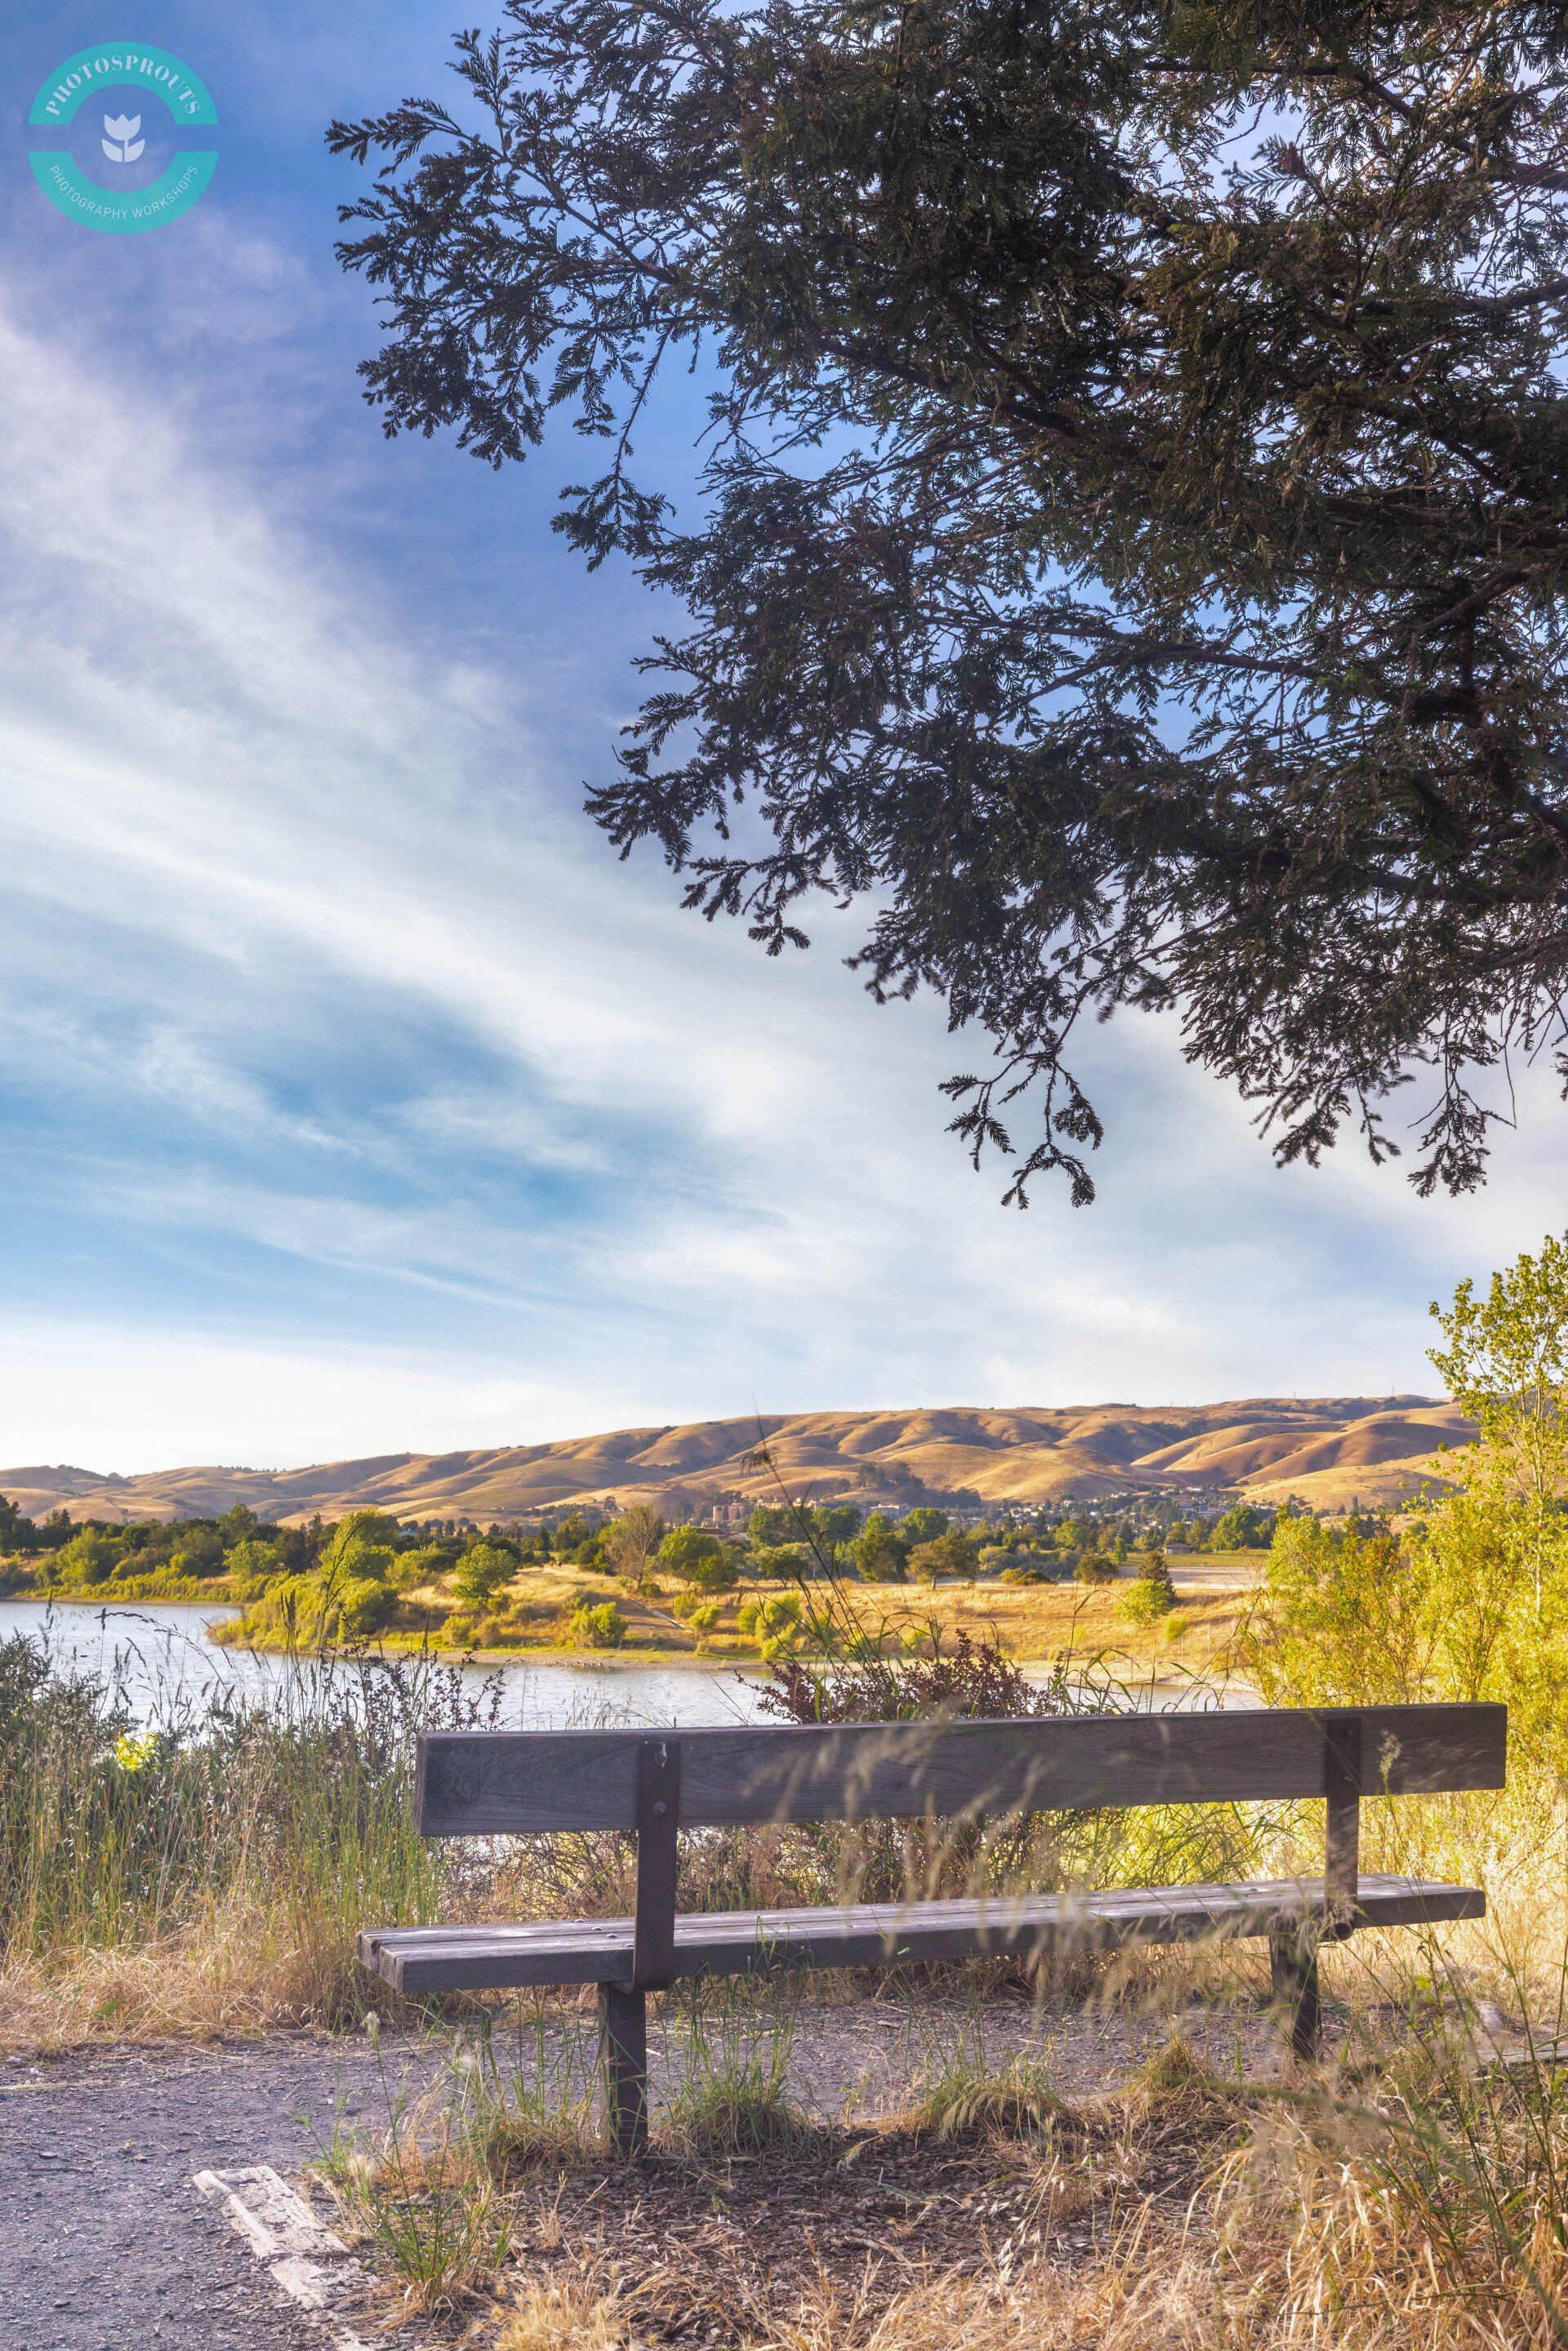
Layer the frame
A landscape photo will be an eye-catching one when it has a foreground, middle ground and background.
Look for a spot that you see a meaningful foreground that leads the eye to the mid ground and the background.
Be prepared to walk the nature, A LOT!
This explains why a landscape photographer has to be physically fit. In order to find that perfect spot the photographer has to hike around the nature in different times of the day. Even though the photographer has found the perfect spot, the light has to be also good, or it has to have the view of the sunrise/ sunset.
It's a surprise that a landscape photographer might have to visit the same area multiple times to nail that flawless shot.
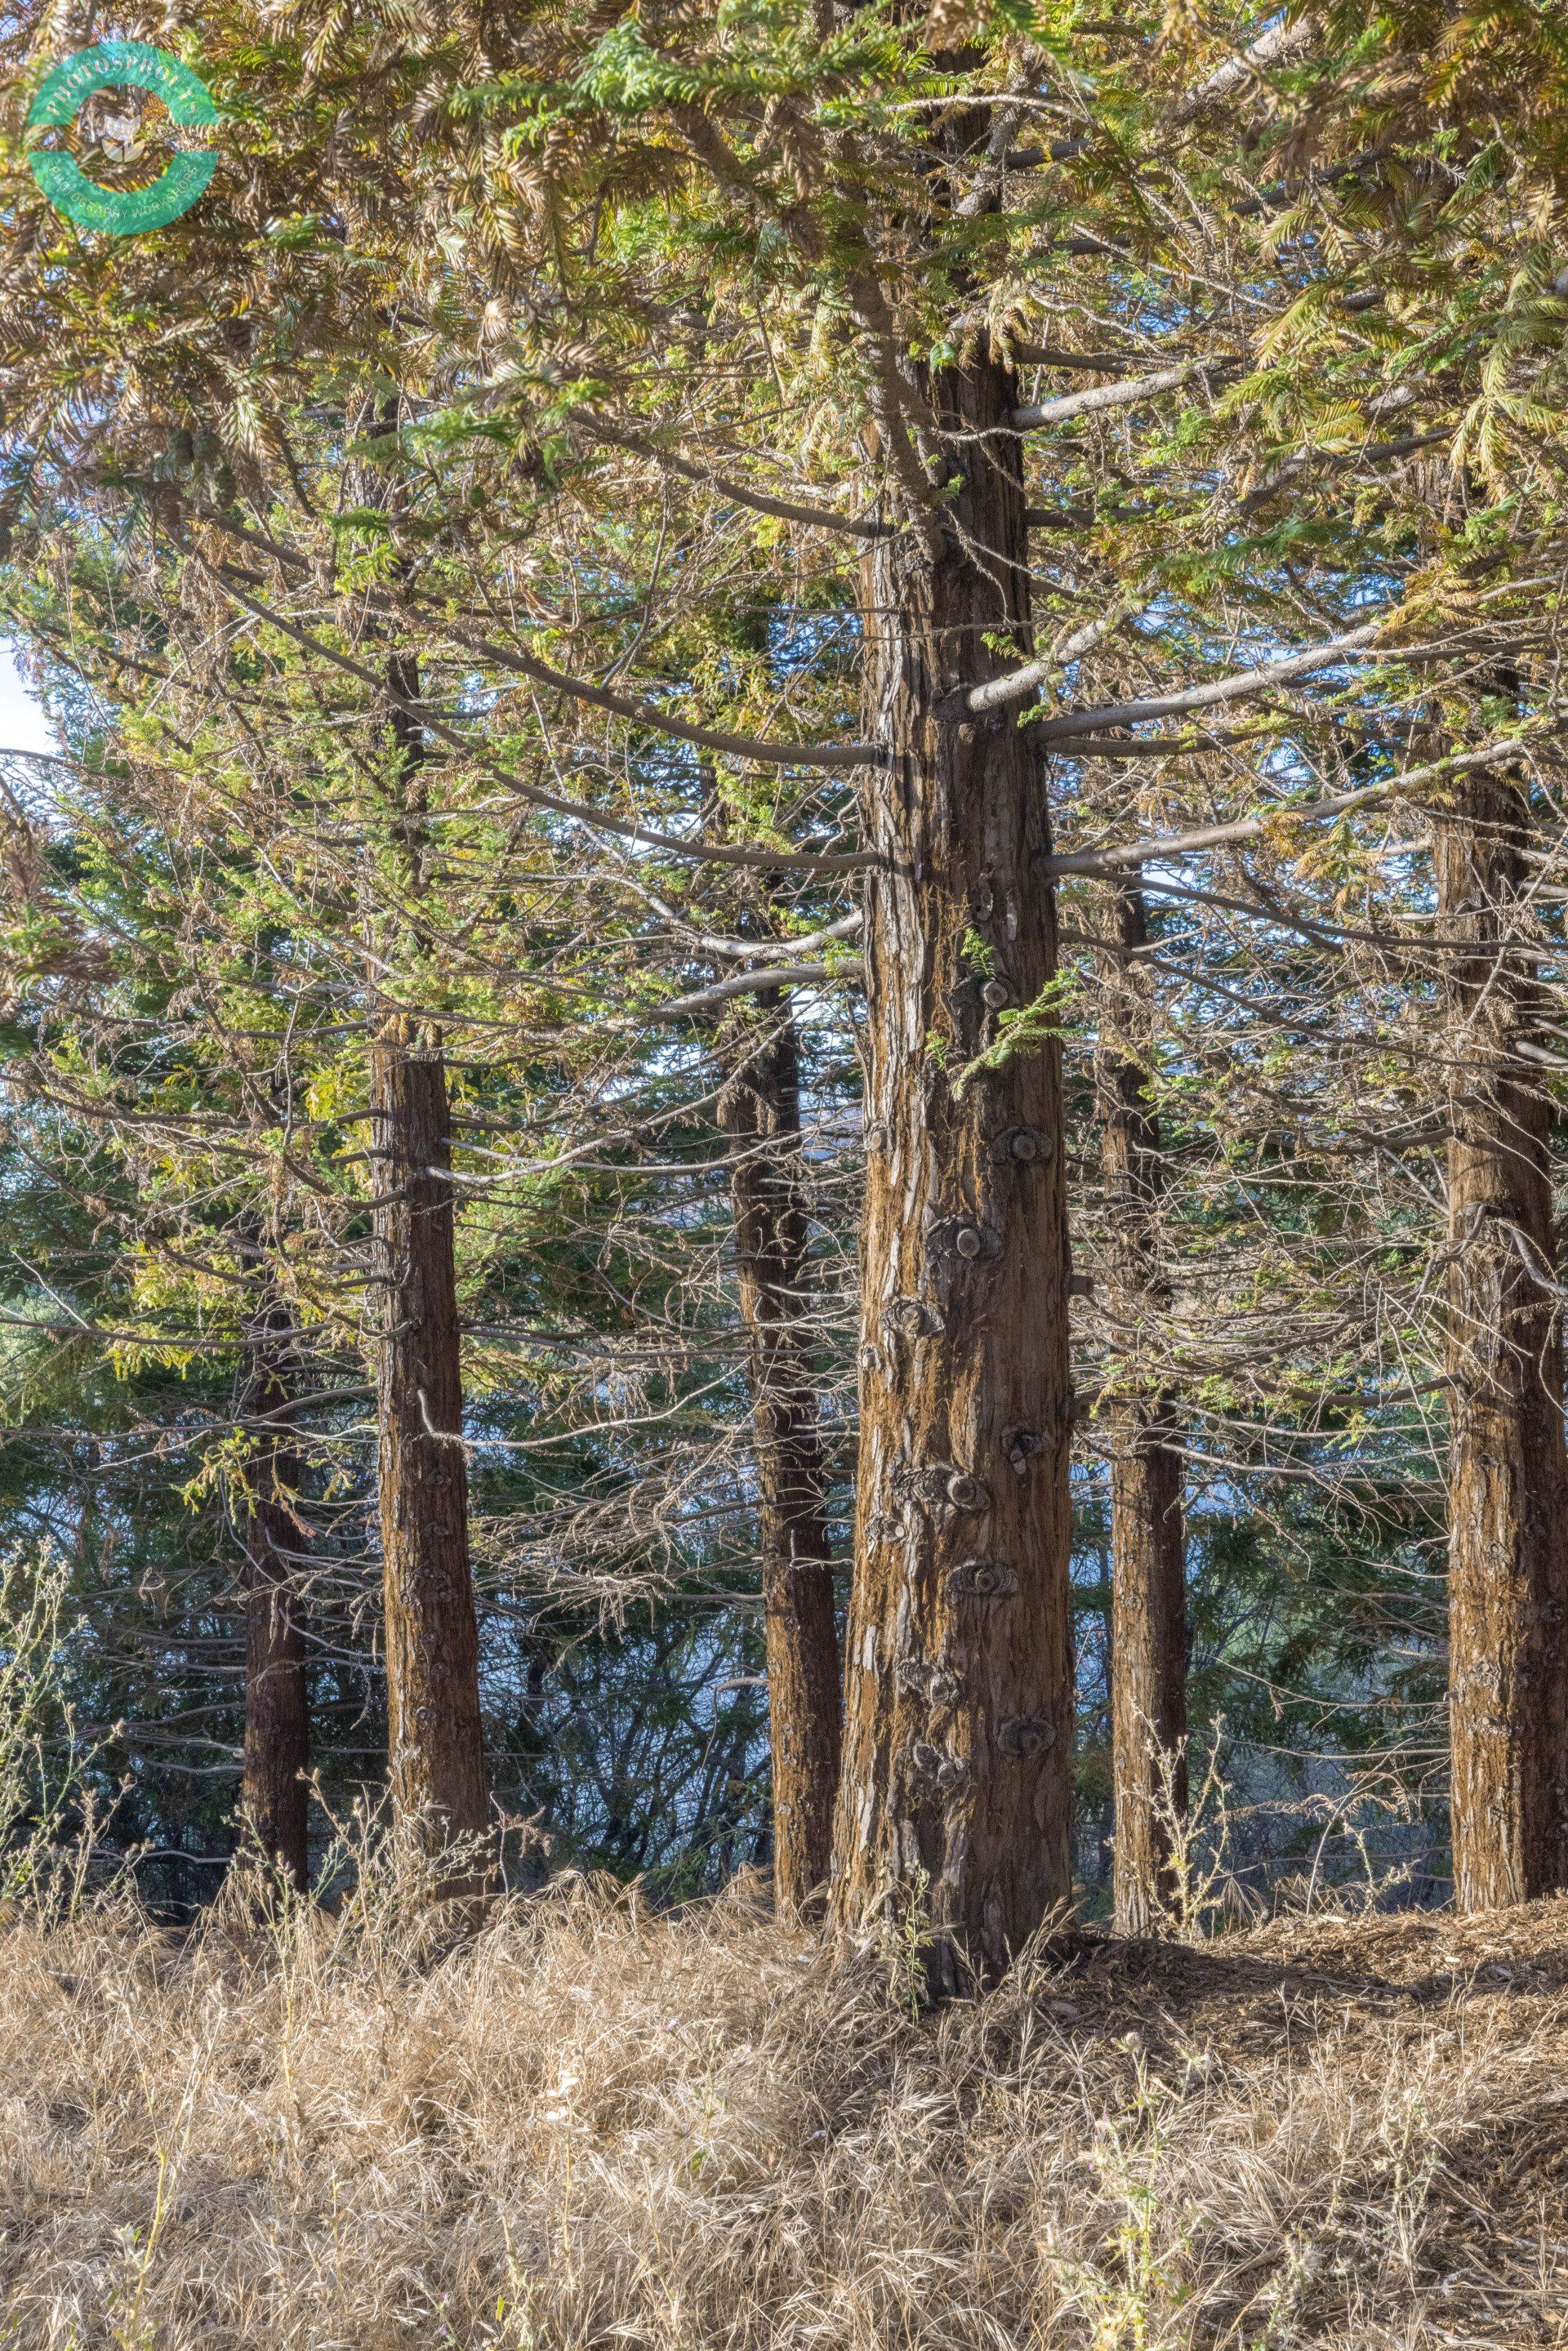
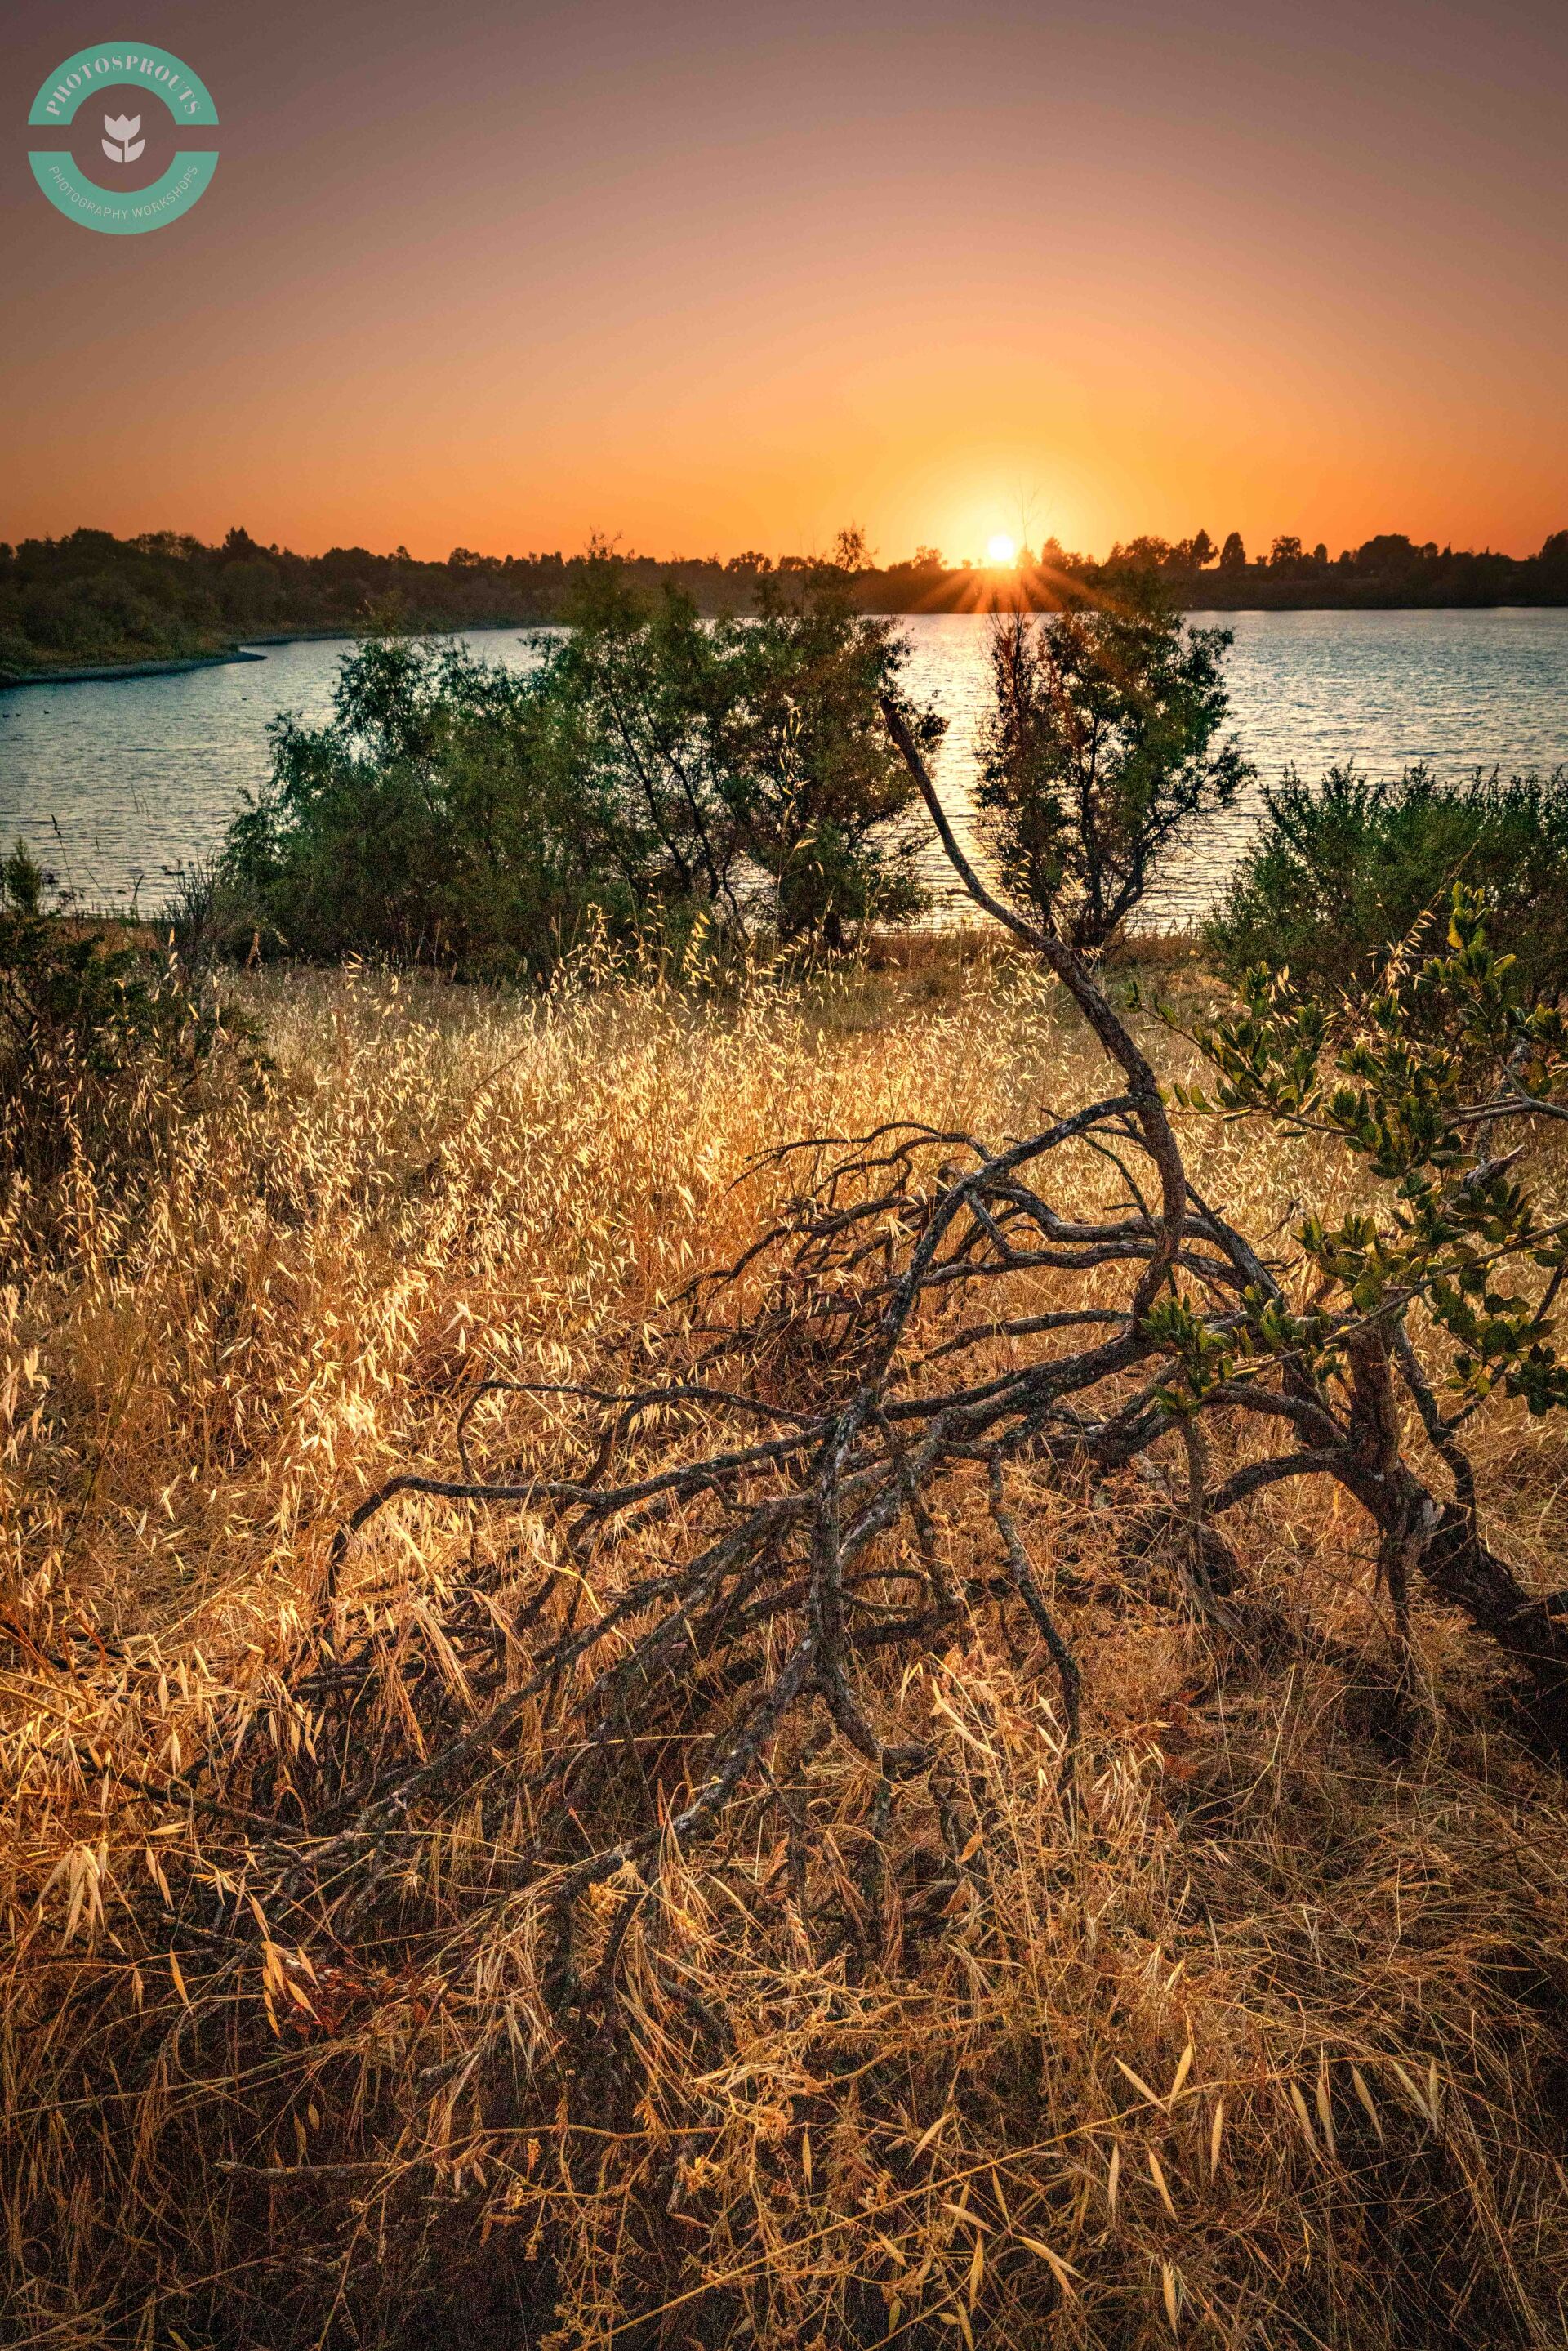
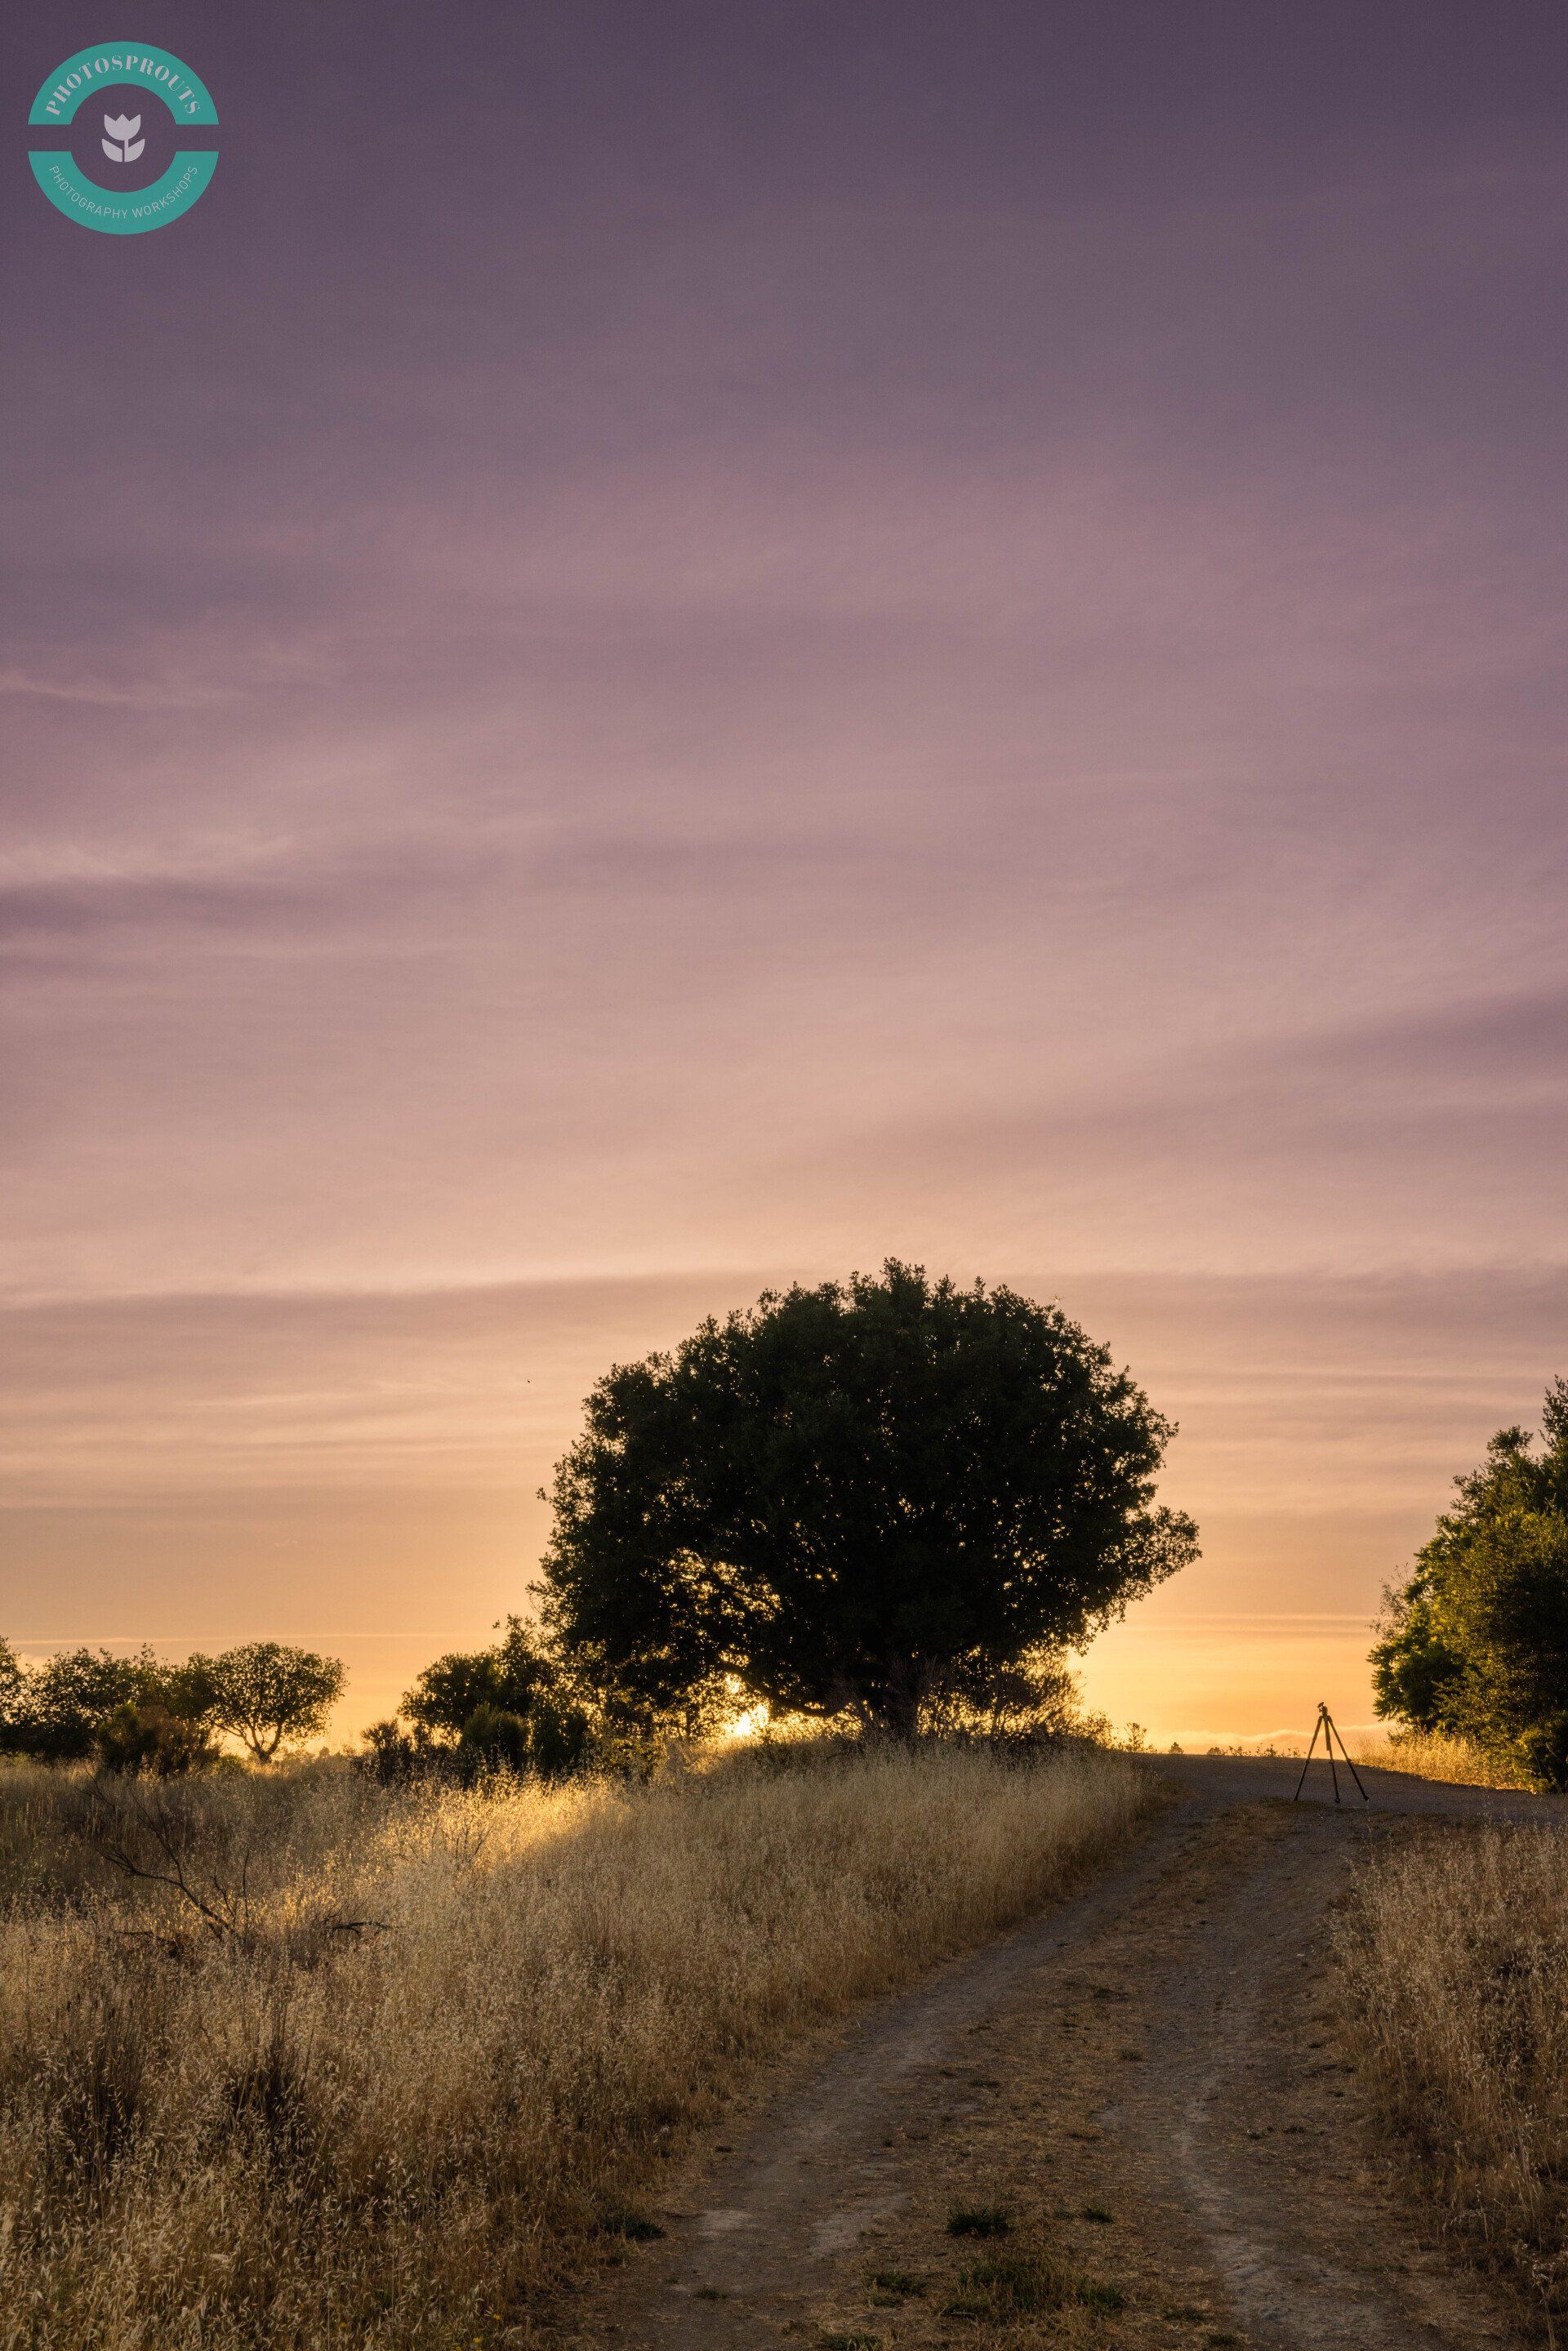
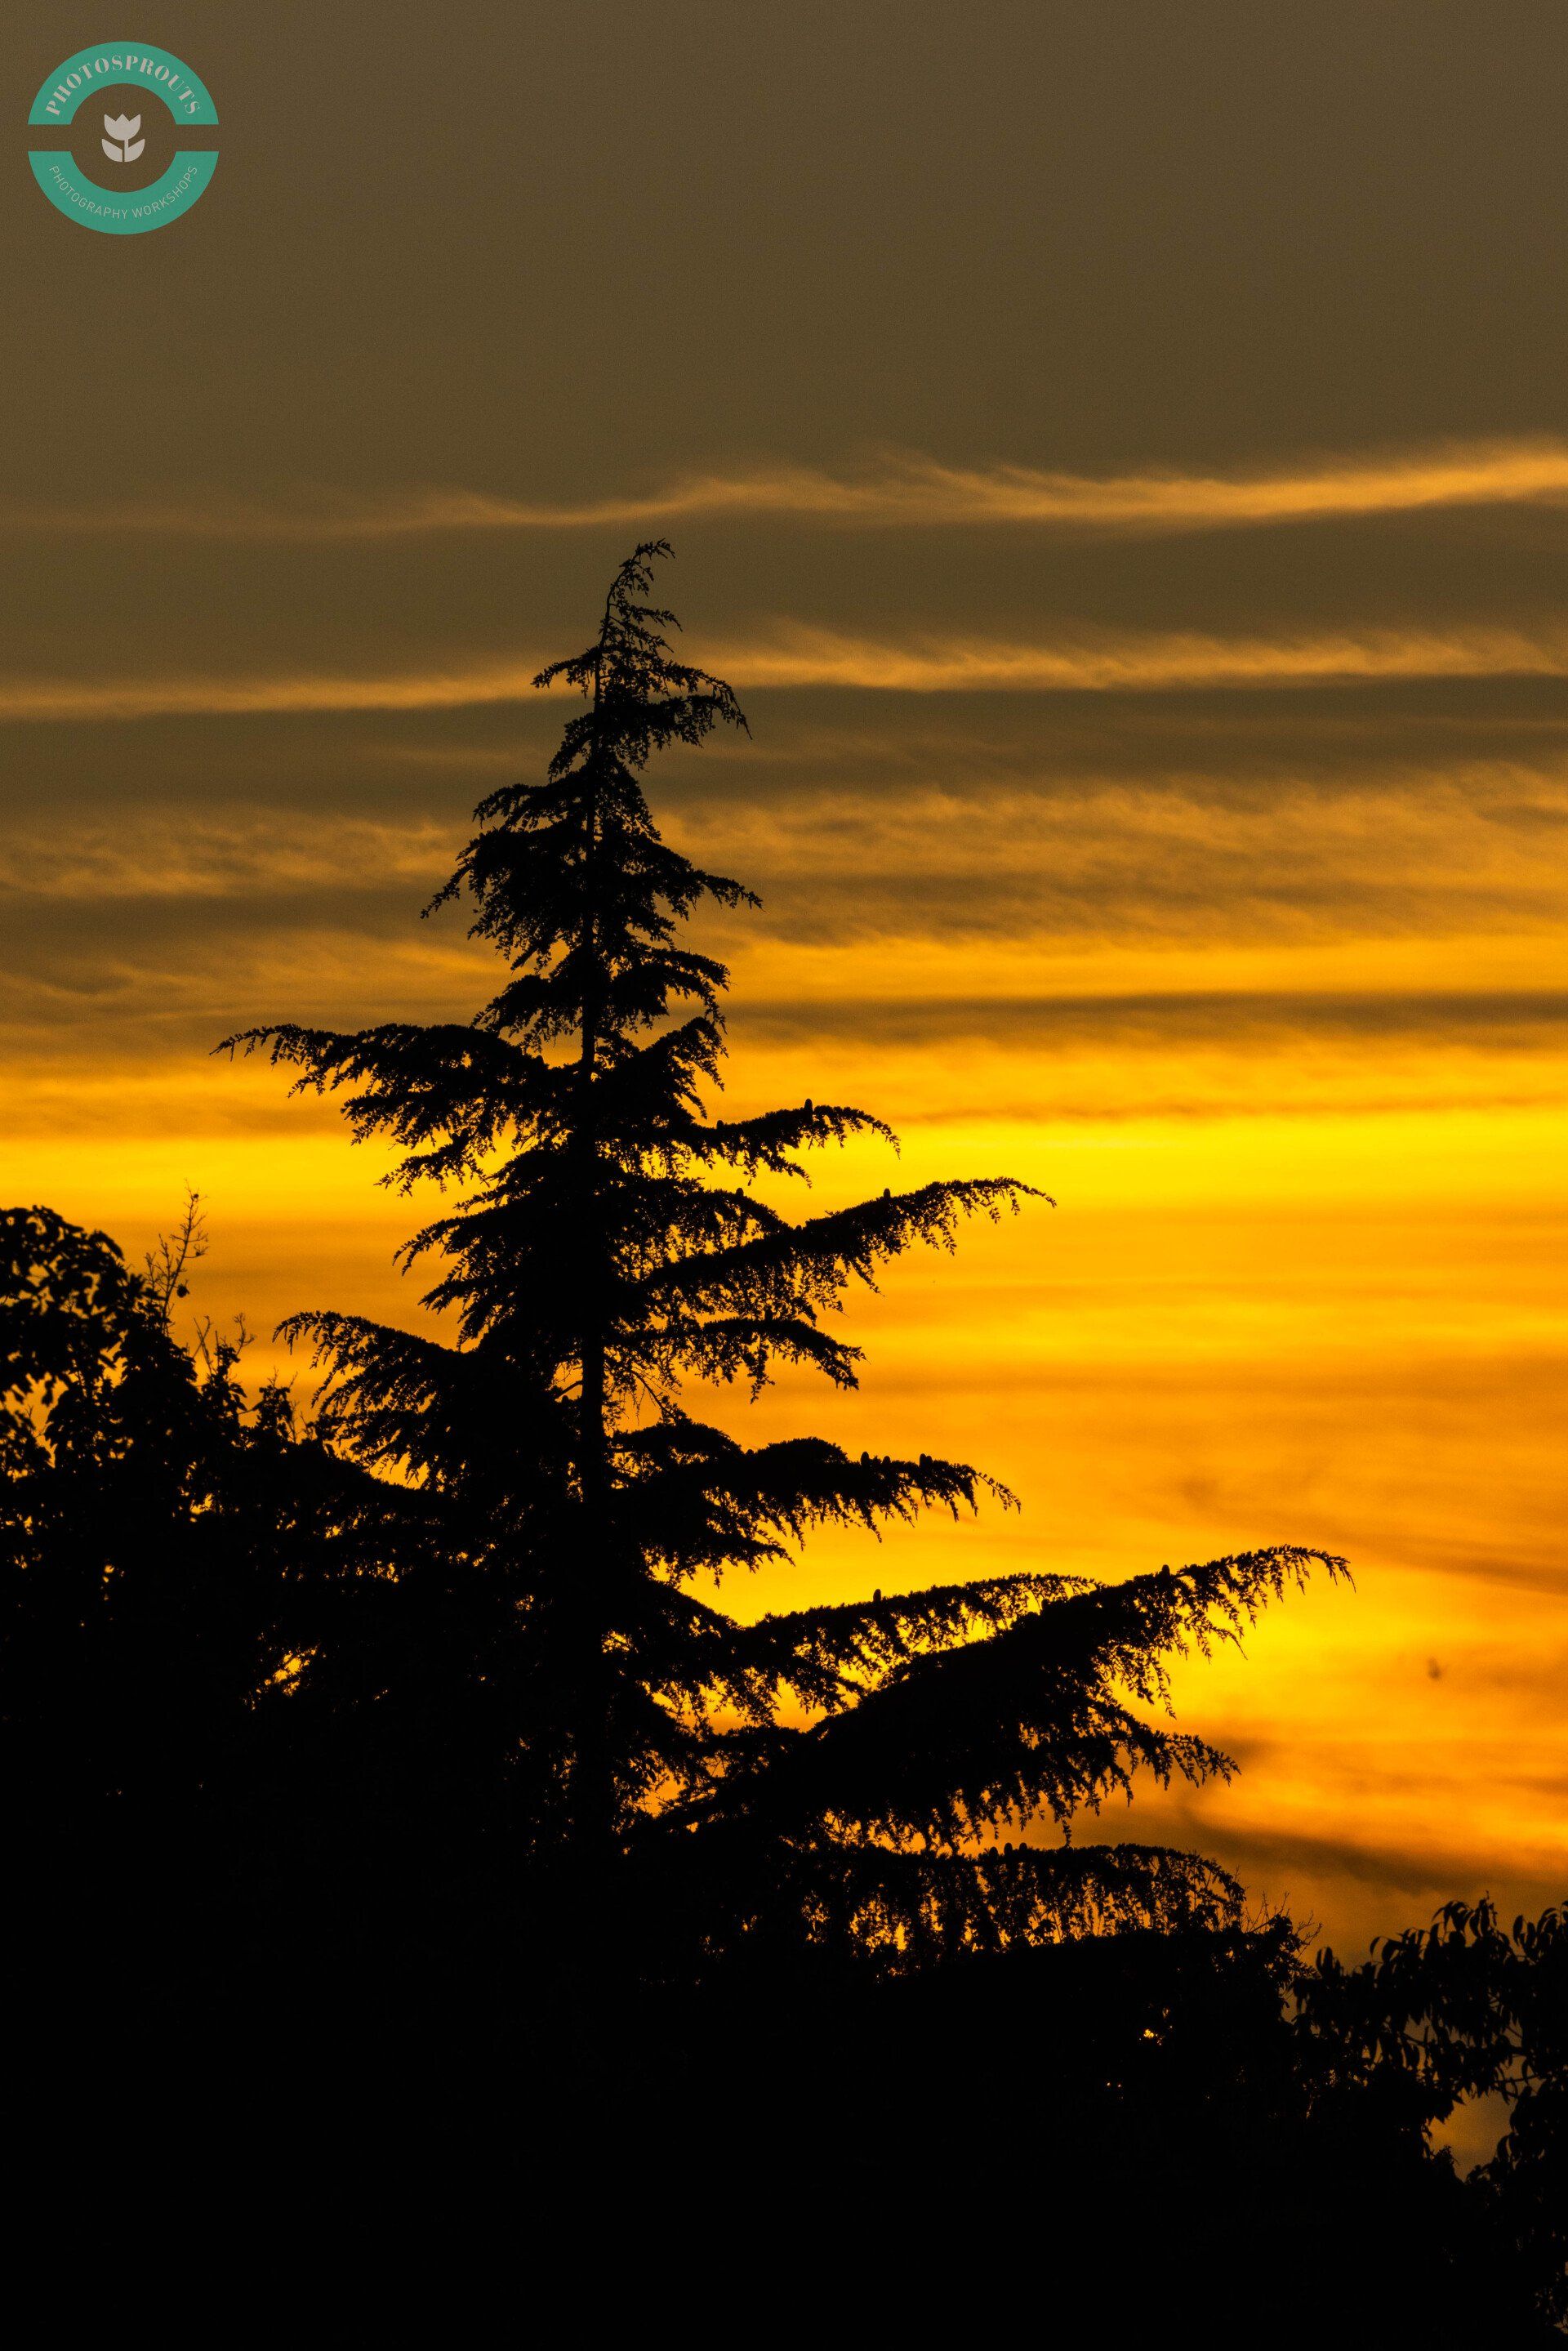
Tip #5
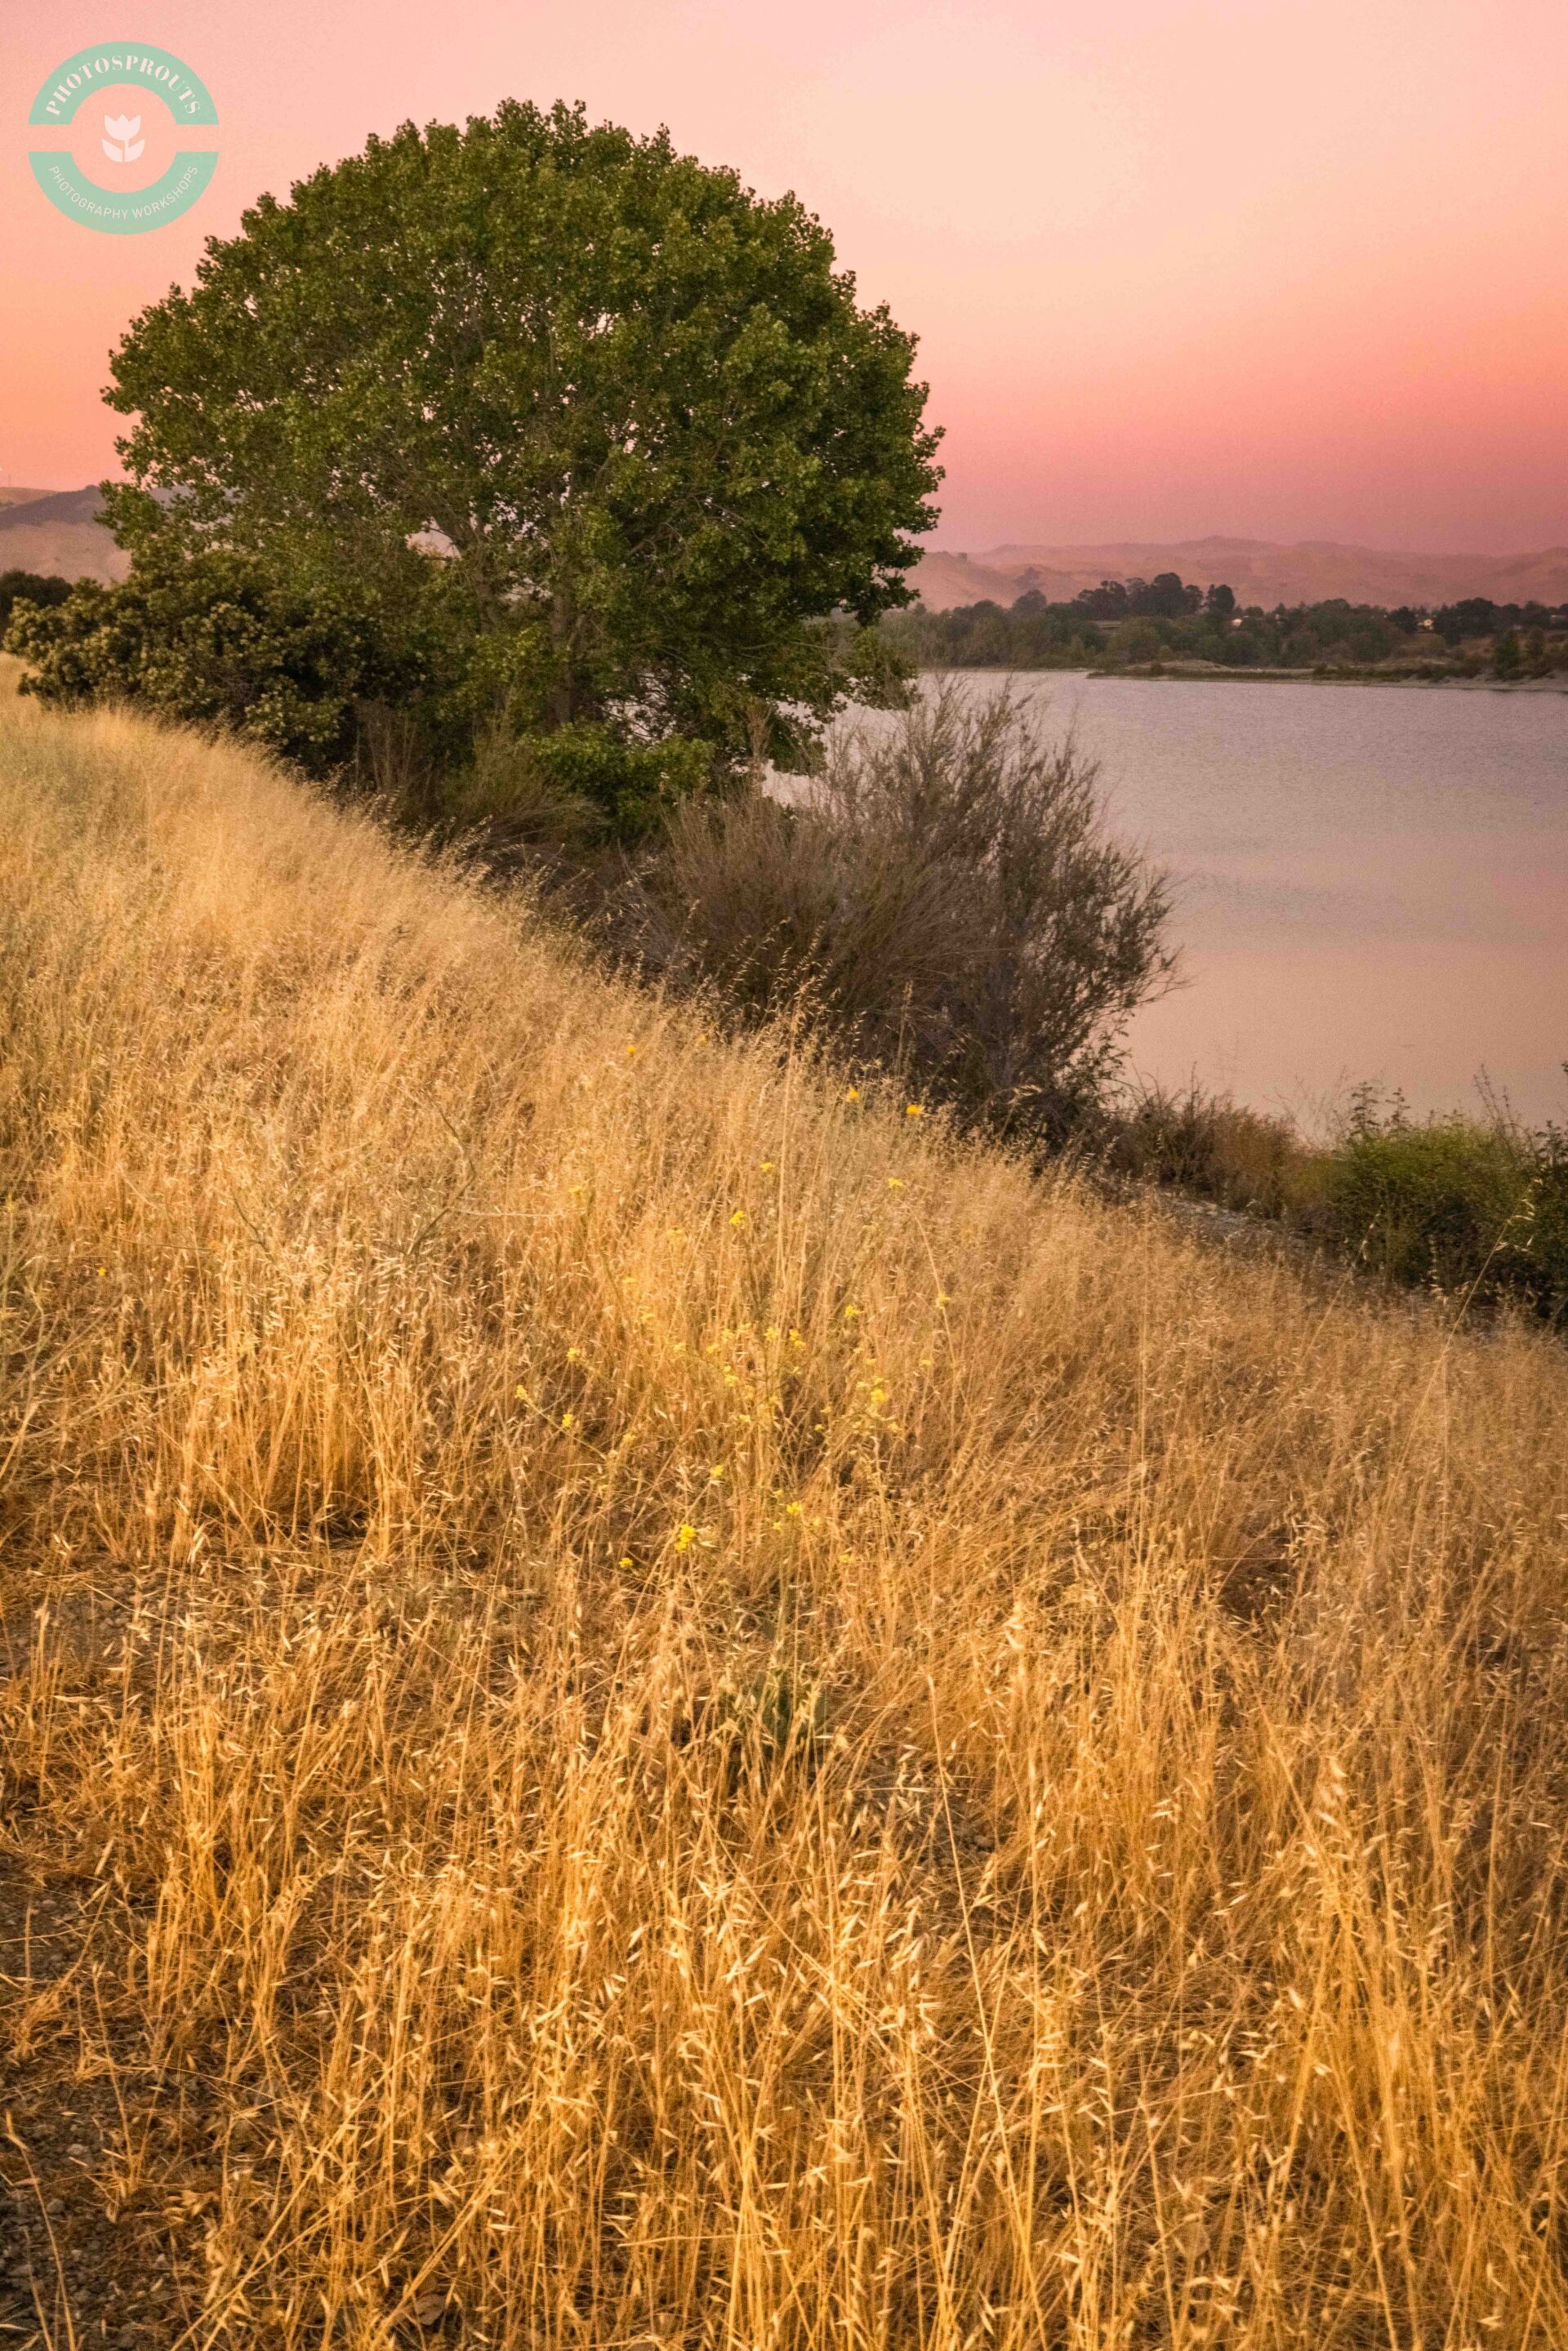
The Lonely Tree Strategy
Sometimes, simplicity is the key.
If a foreground, middle ground and background aren't available at a given location, change the strategy and simply the frame.
Look for a "lonely" tree, or any element in the nature that is independent of other subjects.
Then, use the Rule of Thirds to compose the shot, and leave some negative space to simply the frame.
This usually works during the sunset when the sky is colorful, and I'll adjust the exposure on the Iphone or the camera to make the tree a silhouette.

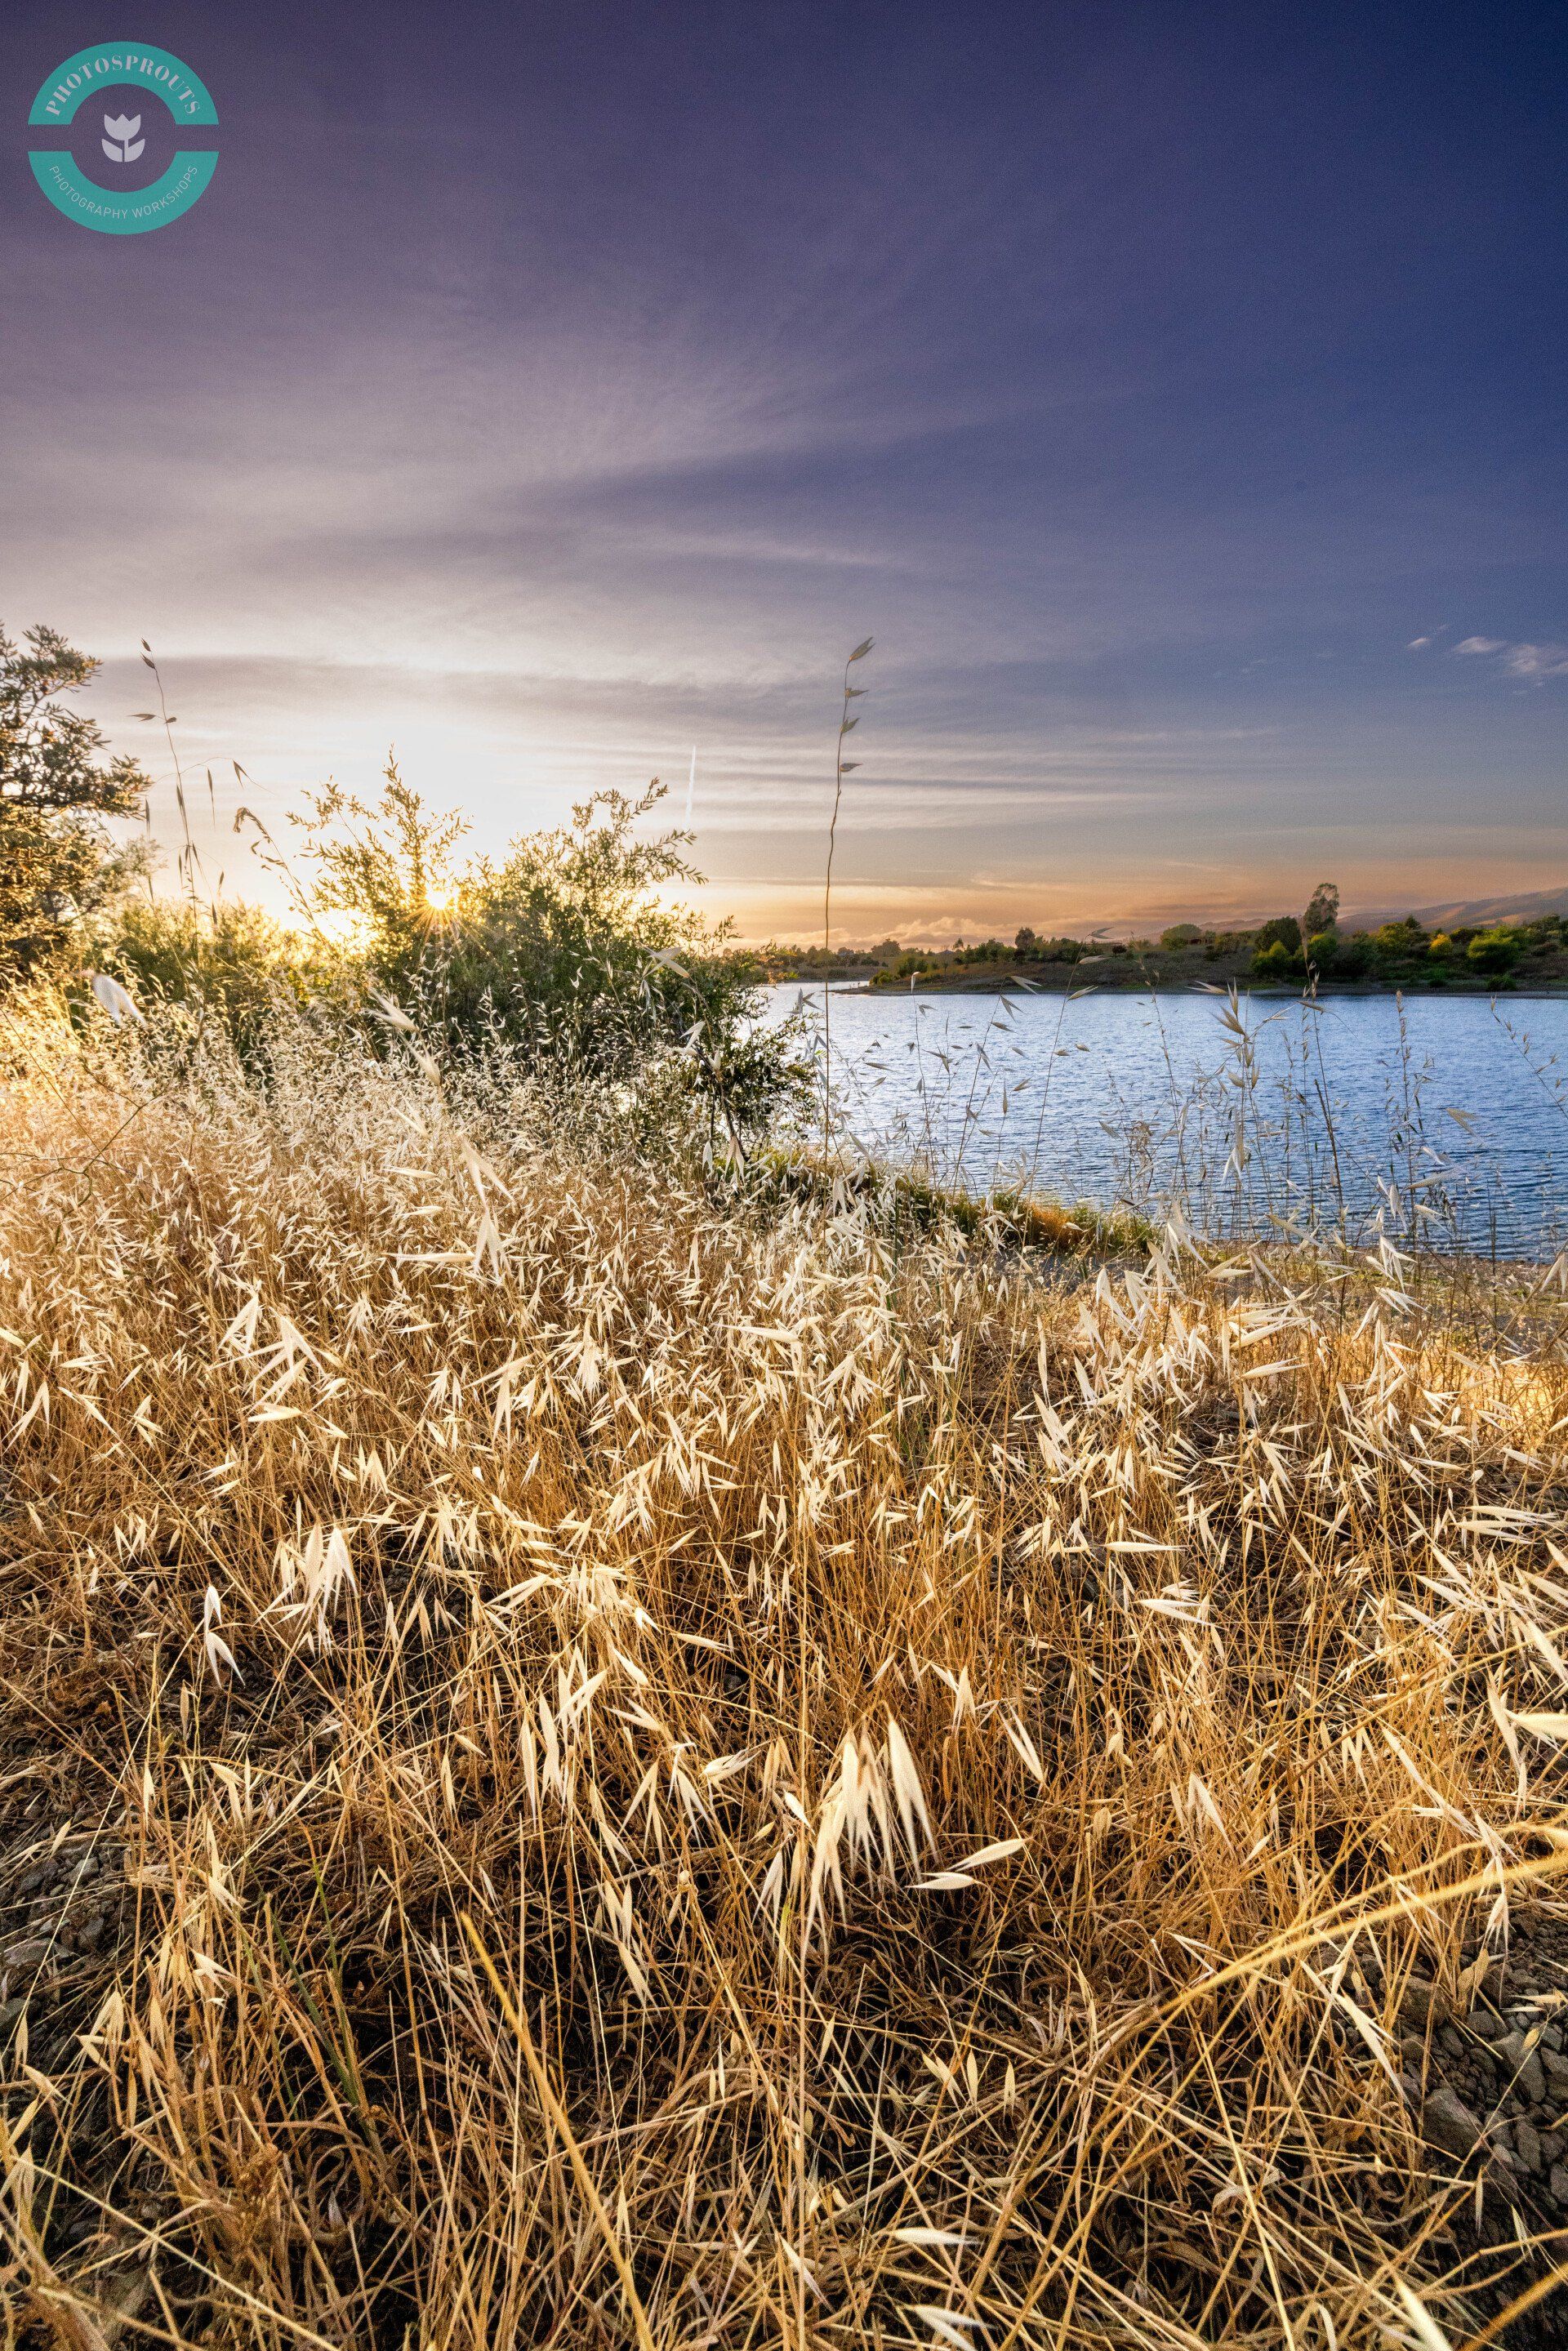
Tip #6
The Wide Angle Lens is for Exaggerating the Foreground
If your Iphone/ Smartphone has a wide angle lens, make good use of it.
In photography, wide angle lens is not for bringing everything you see to one single frame, otherwise the composition will become too busy and lose the point of focus.
Wide angle lenses are used for exaggerating the foreground.
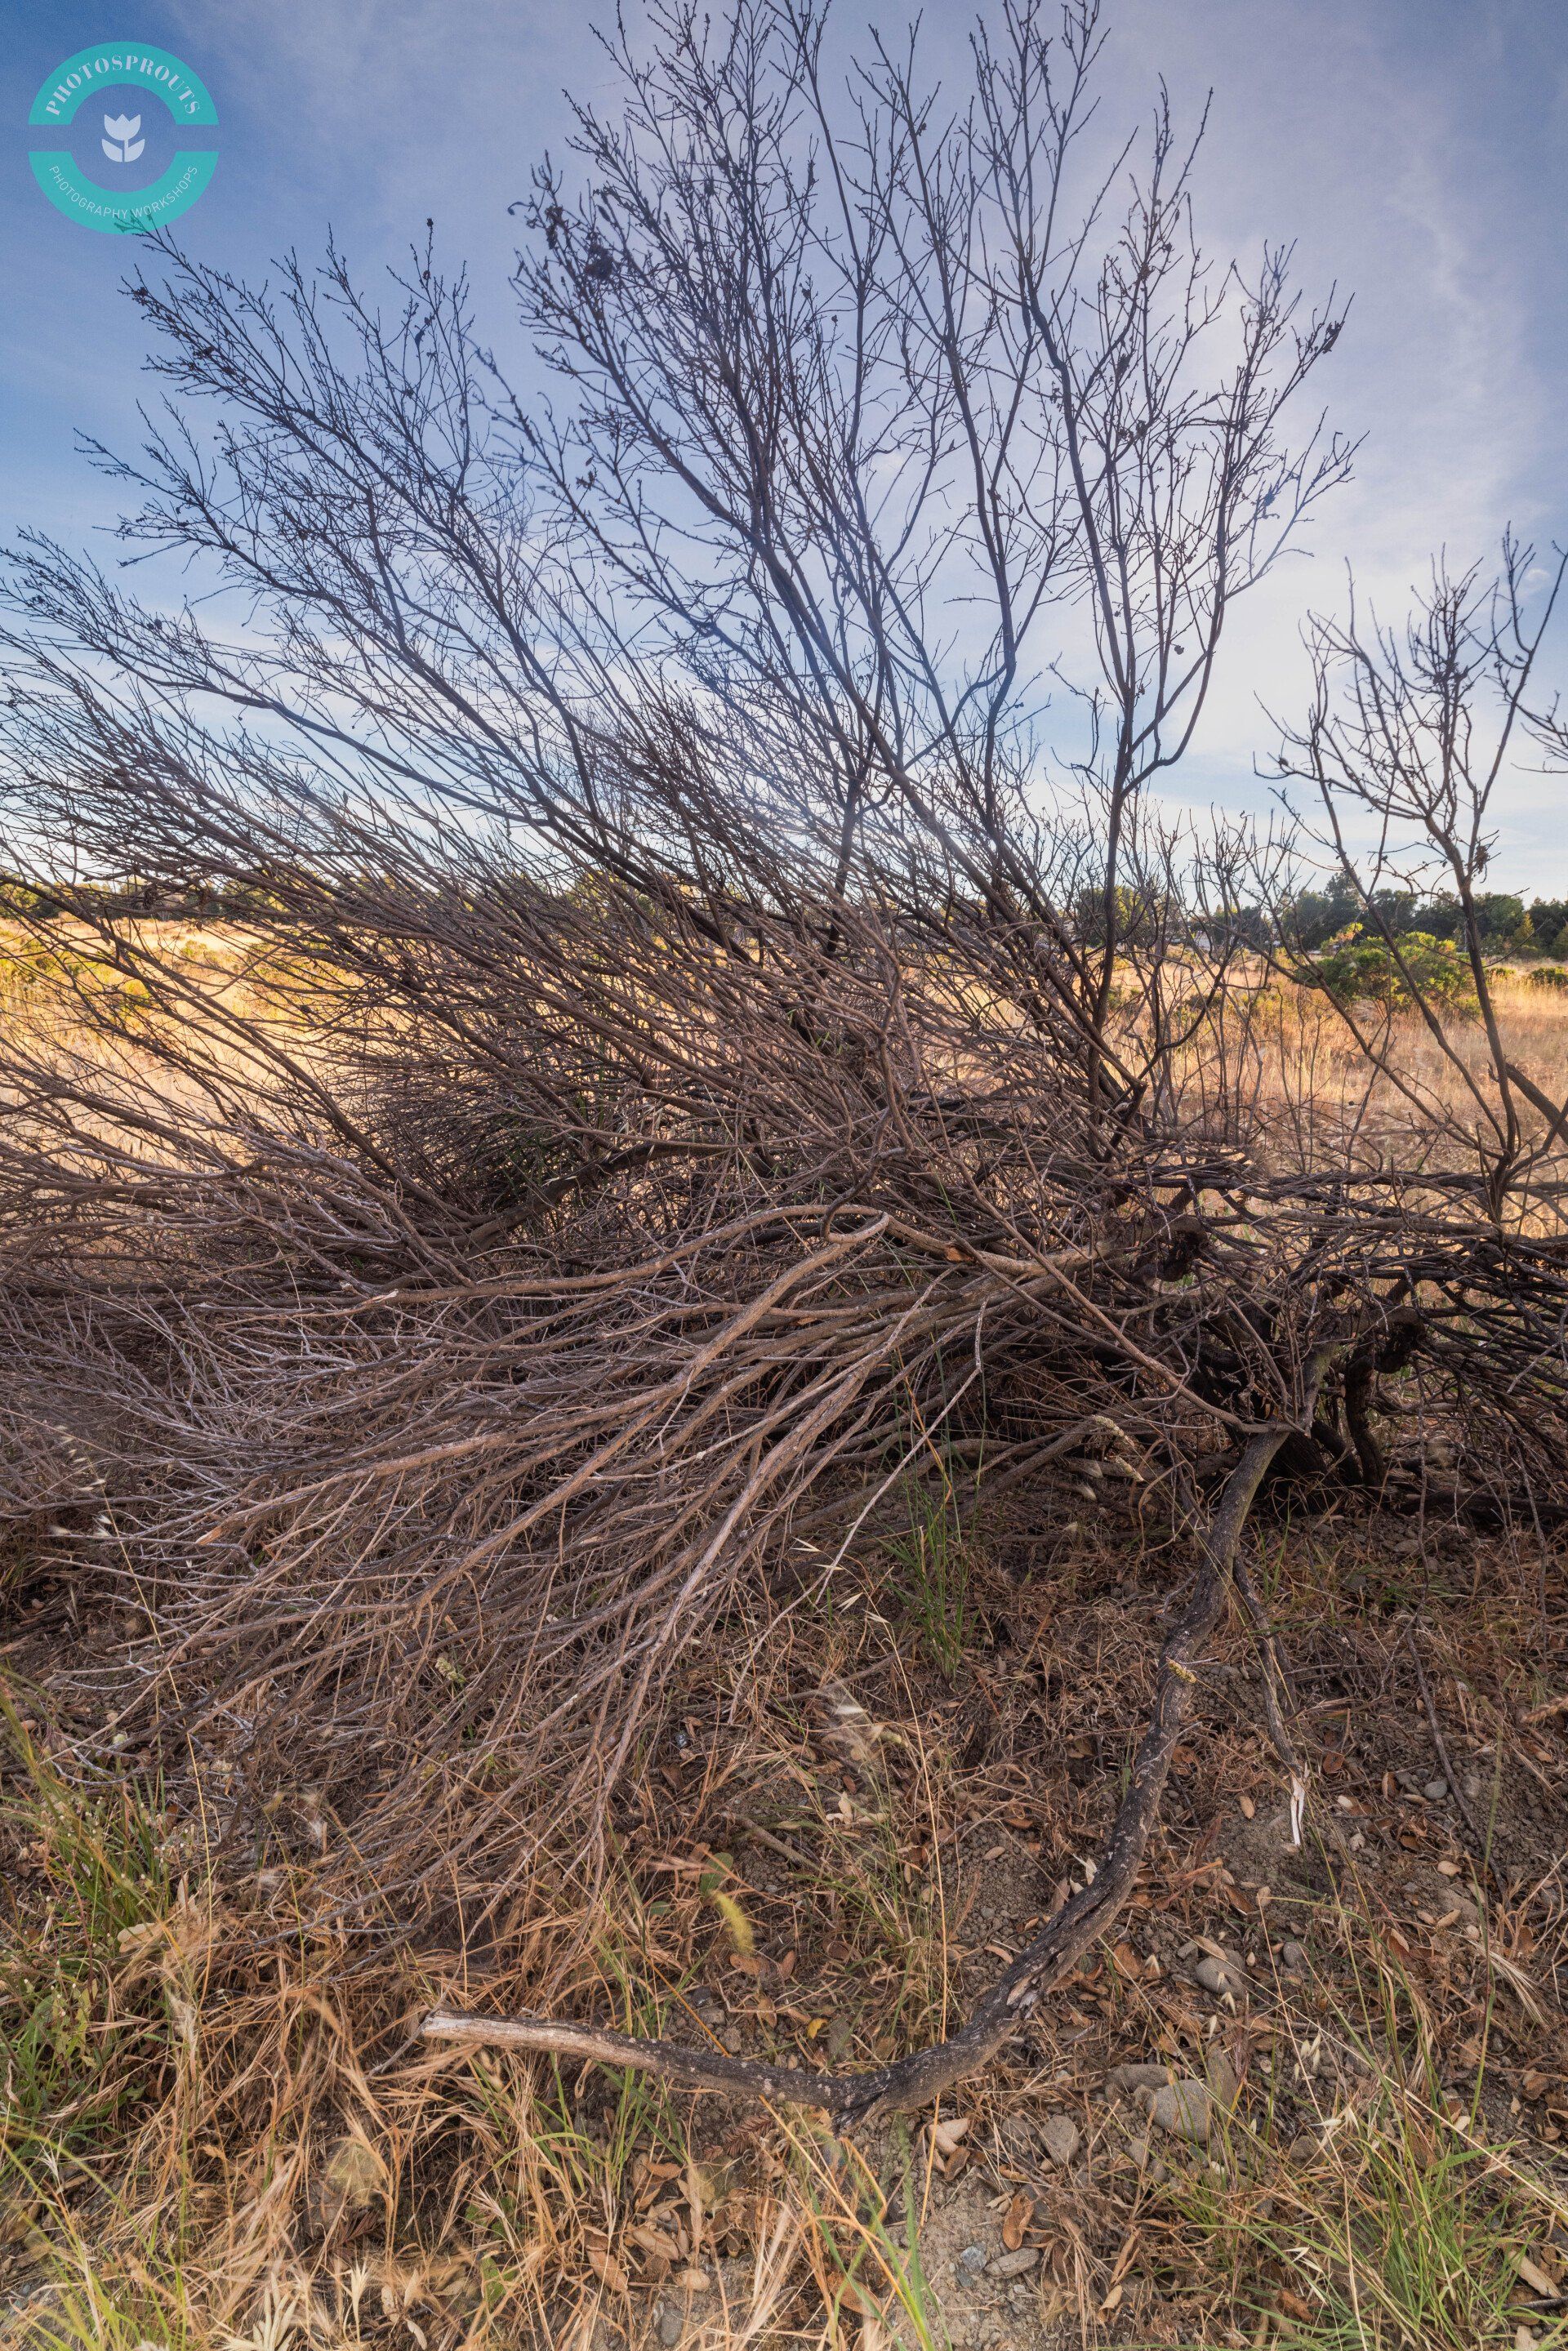
In optical science, what's closest to the lens will appear the biggest/ longest in the photo. In case of a wide angle lens, this effect is being further exaggerated. Therefore, you want to use the wide angle to create impactful distortions by getting close and low to the subject.


Now, you have the Instructor to take you to the good spots in the nature at the right time!
Smartphone Photography Workshop
Date: September 24th 2022 (Sat)
Time: 3:00pm-6:30pm
2 Locations in Fremont:
1) Niles Historical Town (Travel, Portrait, Still Life, Documentary Focused) and
2) Alameda Creek (Nature & landscape focused)
Click here to
learn more
*All the photos in this article were captured in the location that we're going take you to in the Smartphone Photography Workshop on 9/24/2022