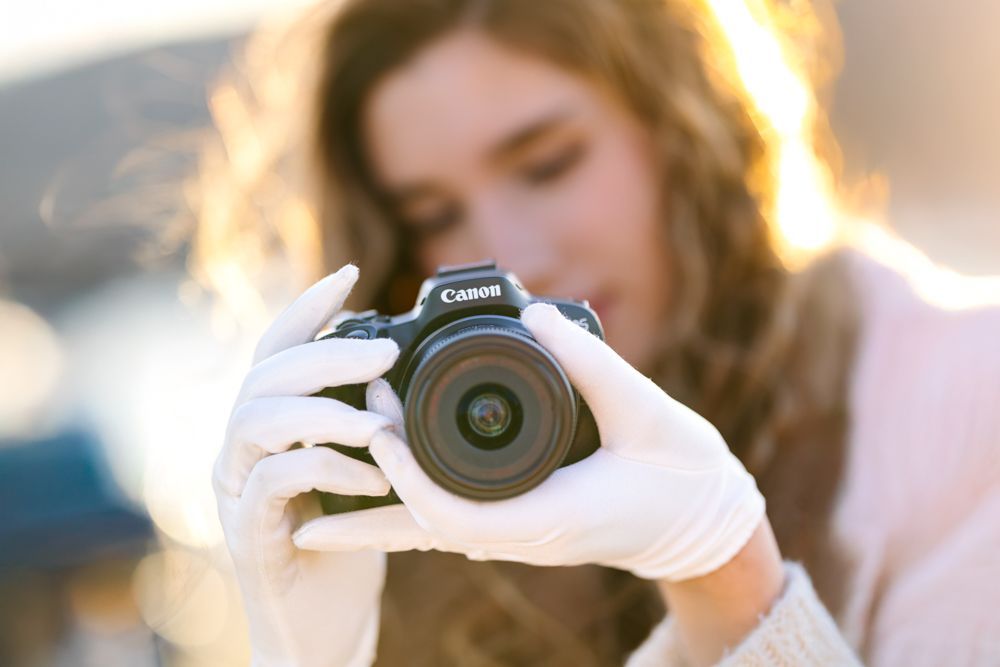
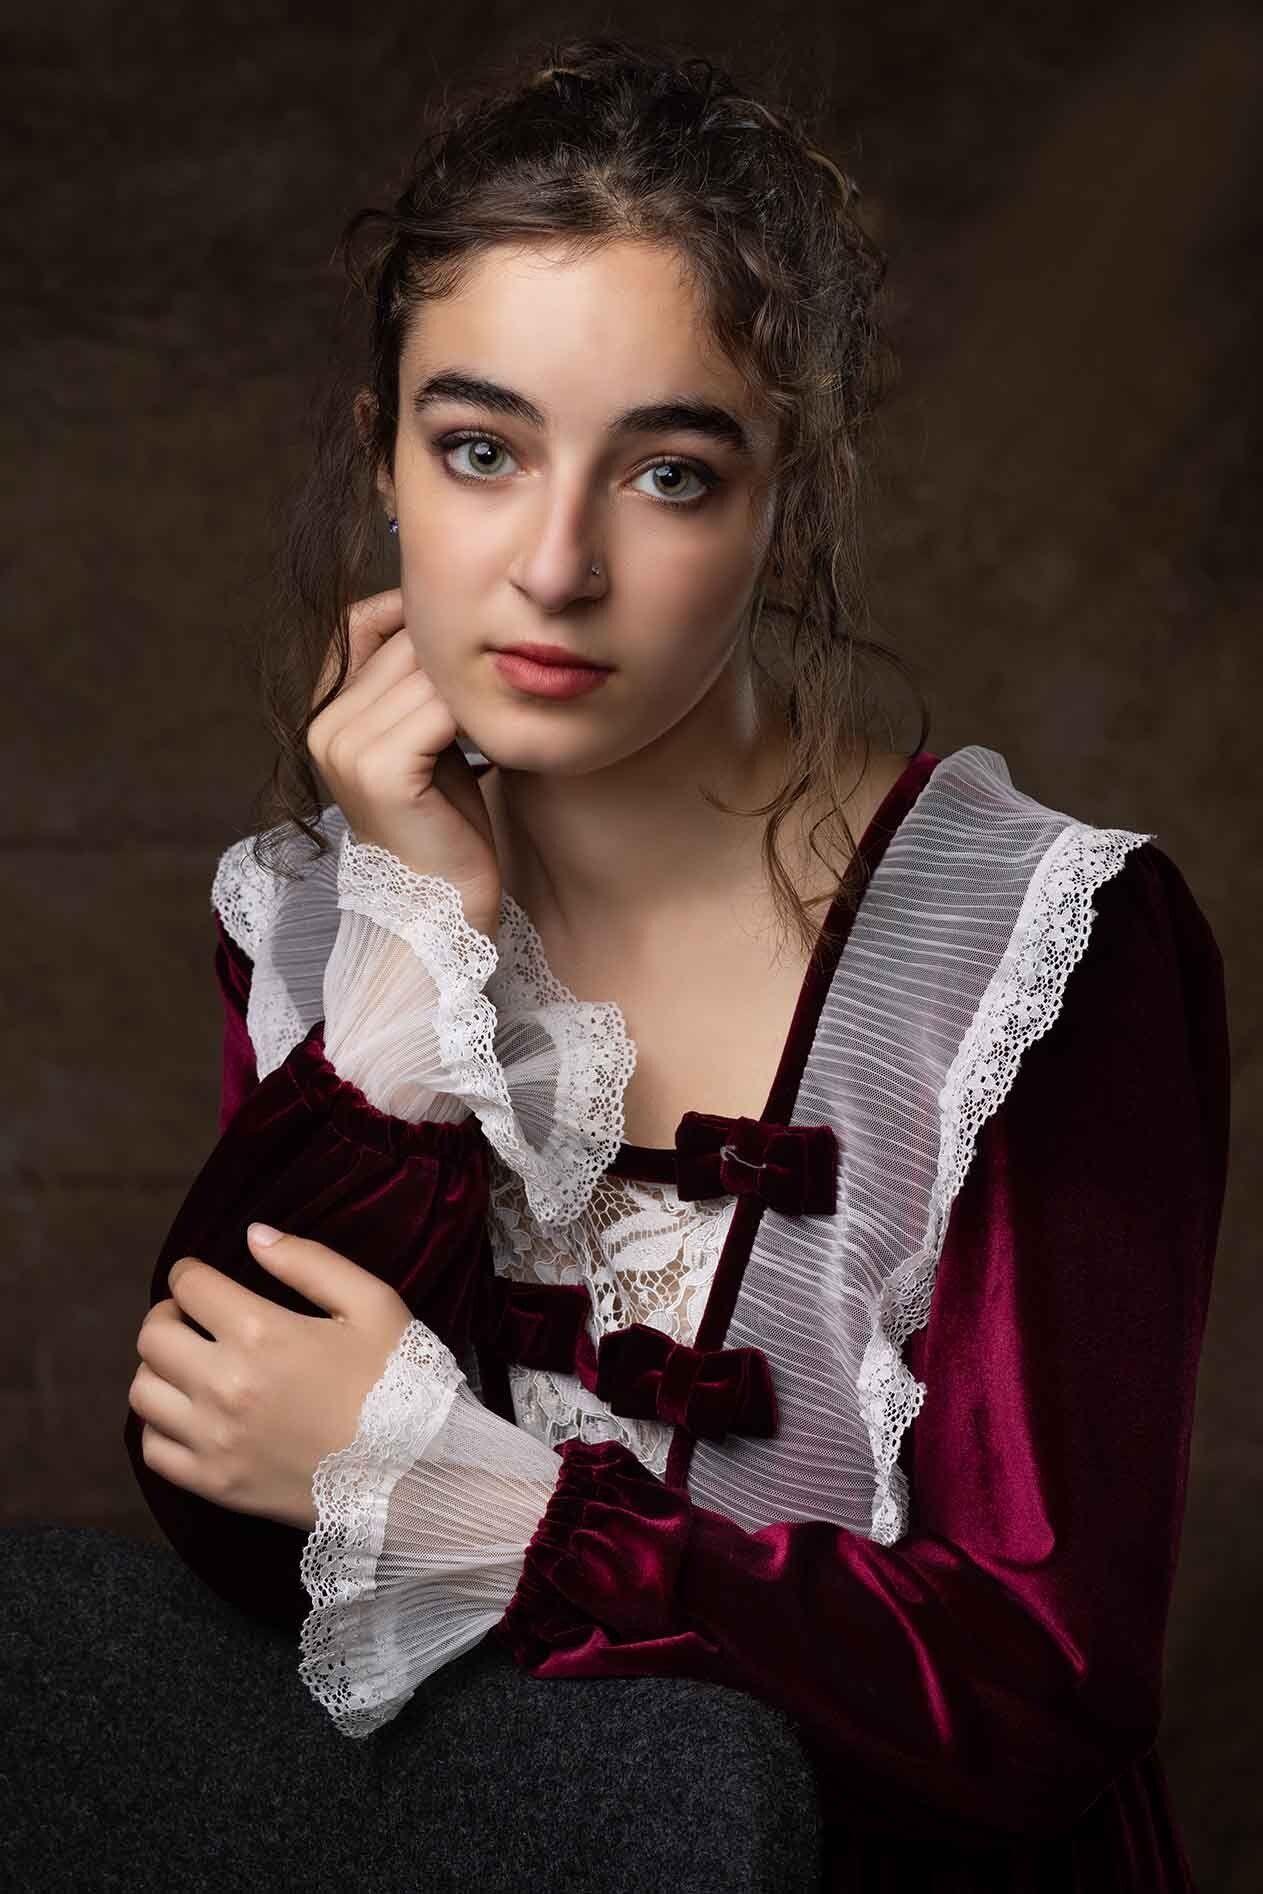
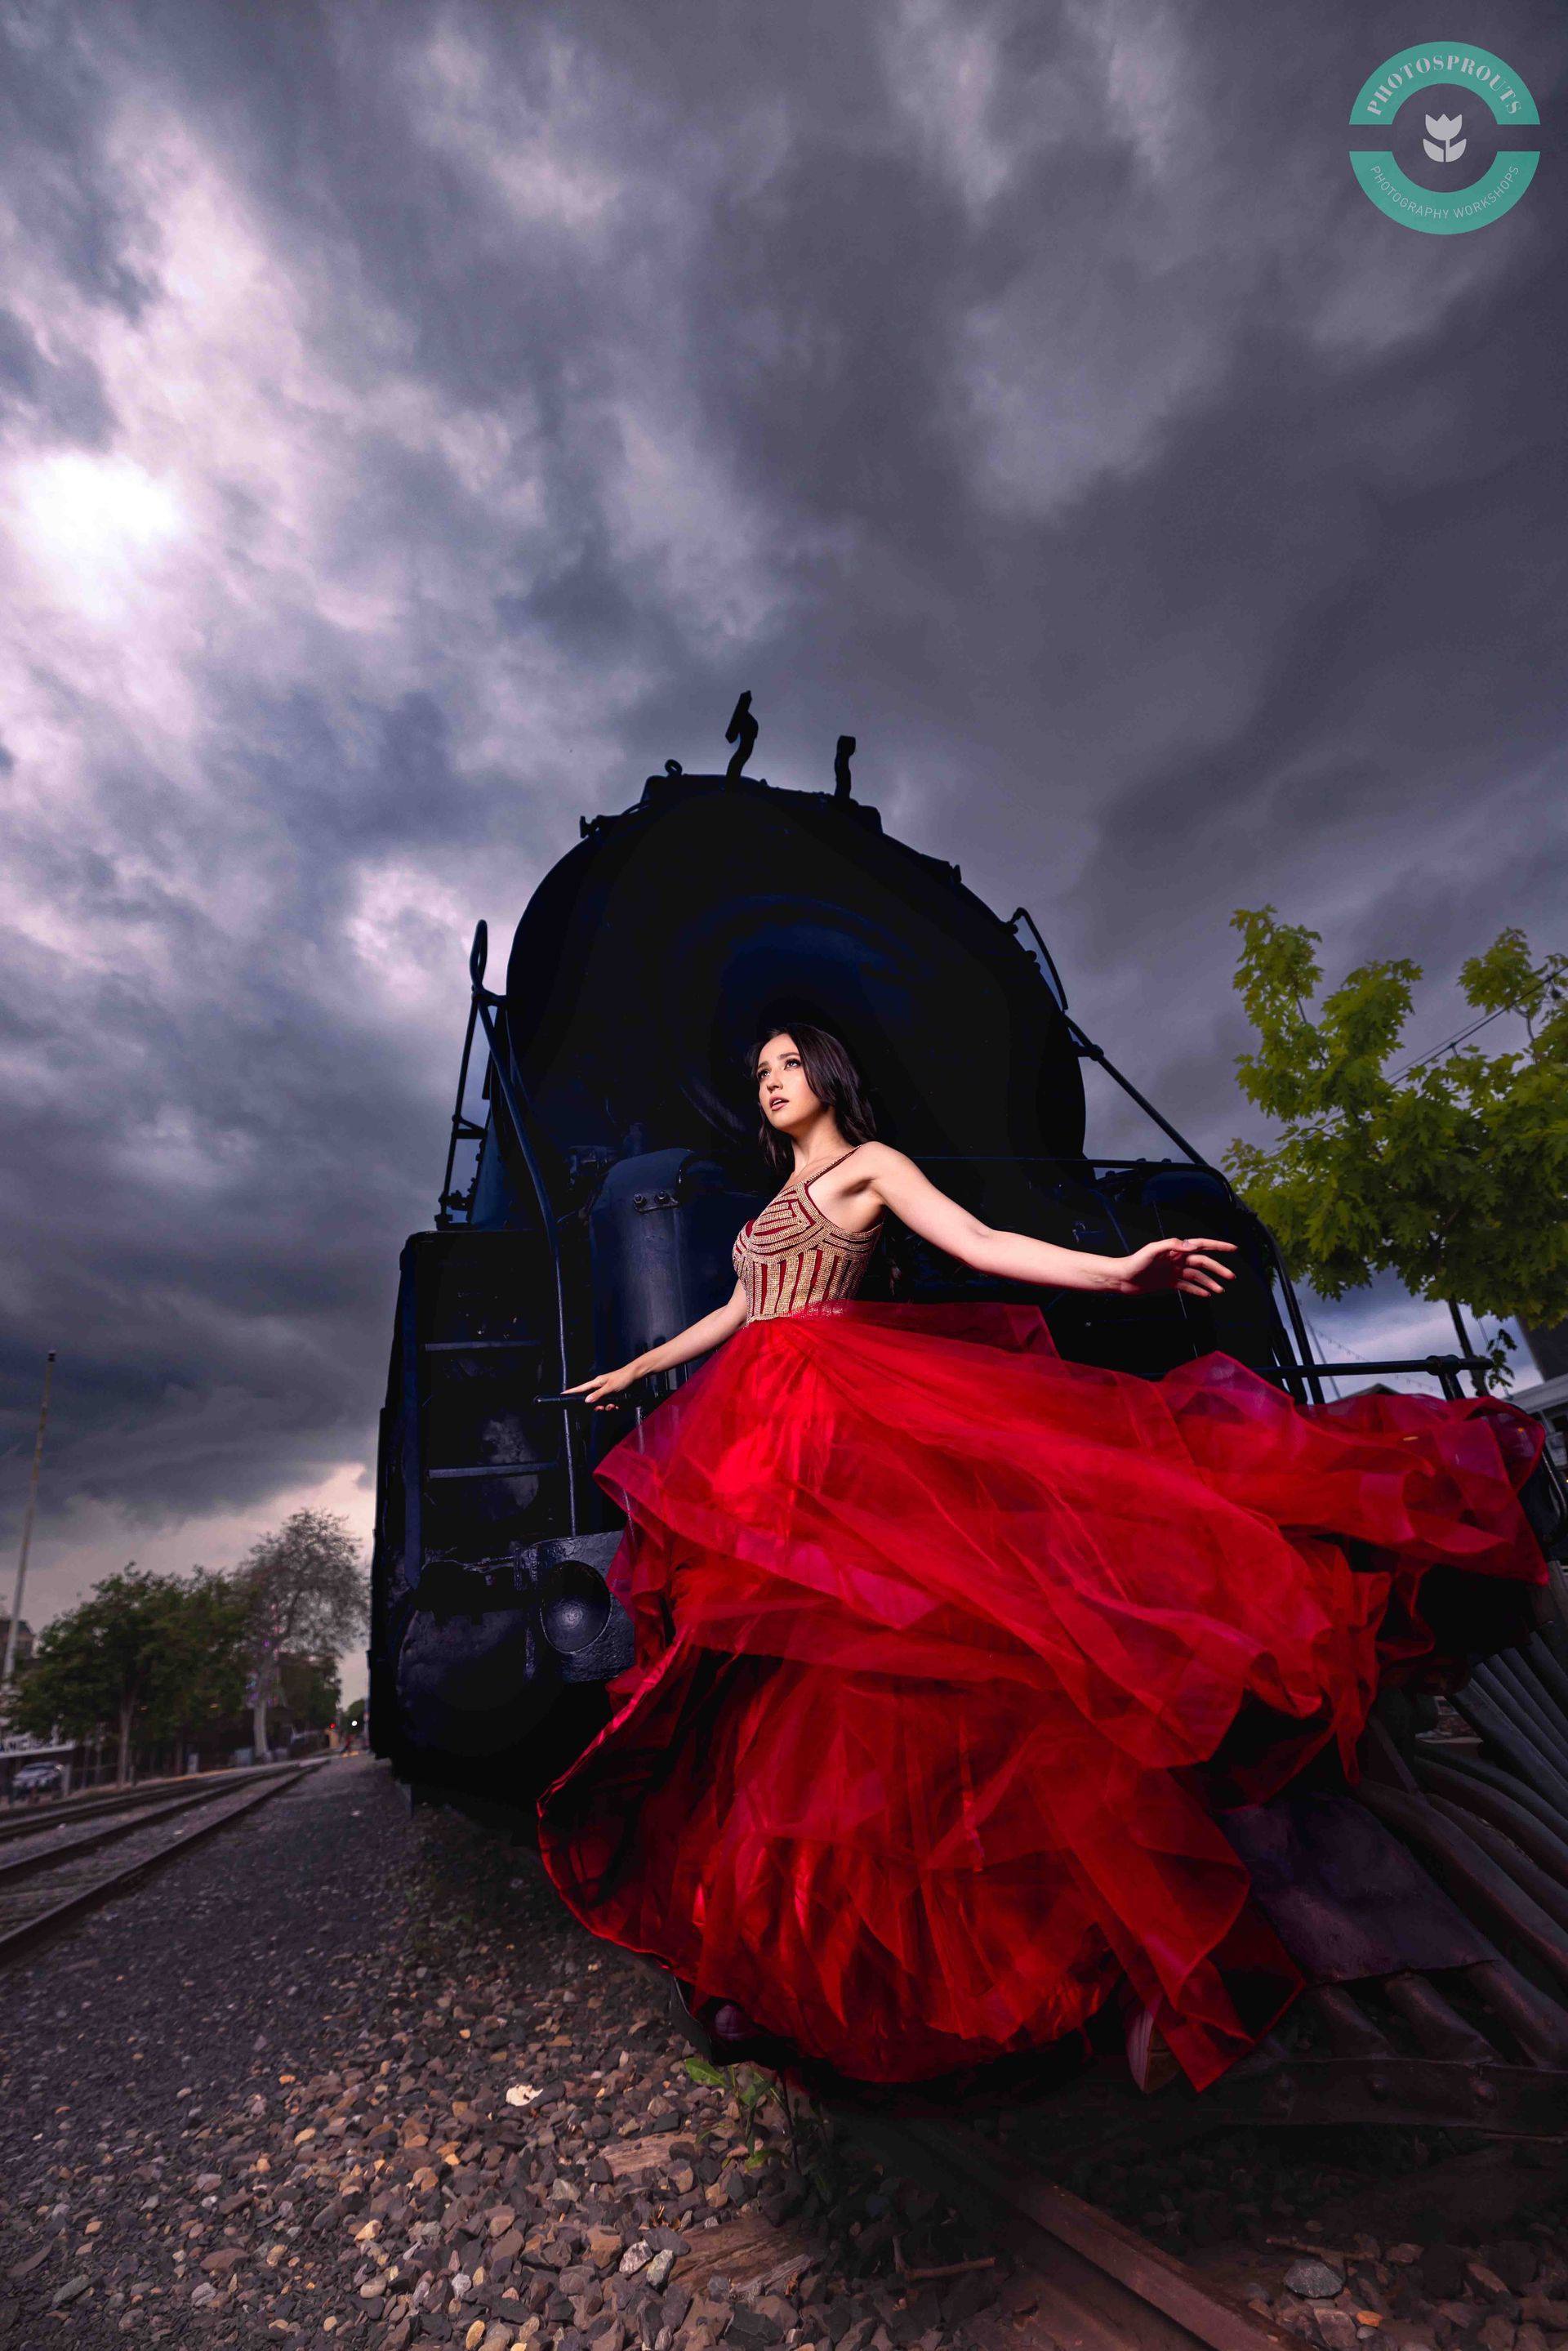

Canon R5 + 50mm F1.8 On Portraits
Behind the Scenes:
Canon R5 + 50mm F1.8
On a Natural Light Portrait Photoshoot
In this video I will be showing you the behind the scenes of a natural light portrait photoshoot using the most basic, entry-level camera & lenses:
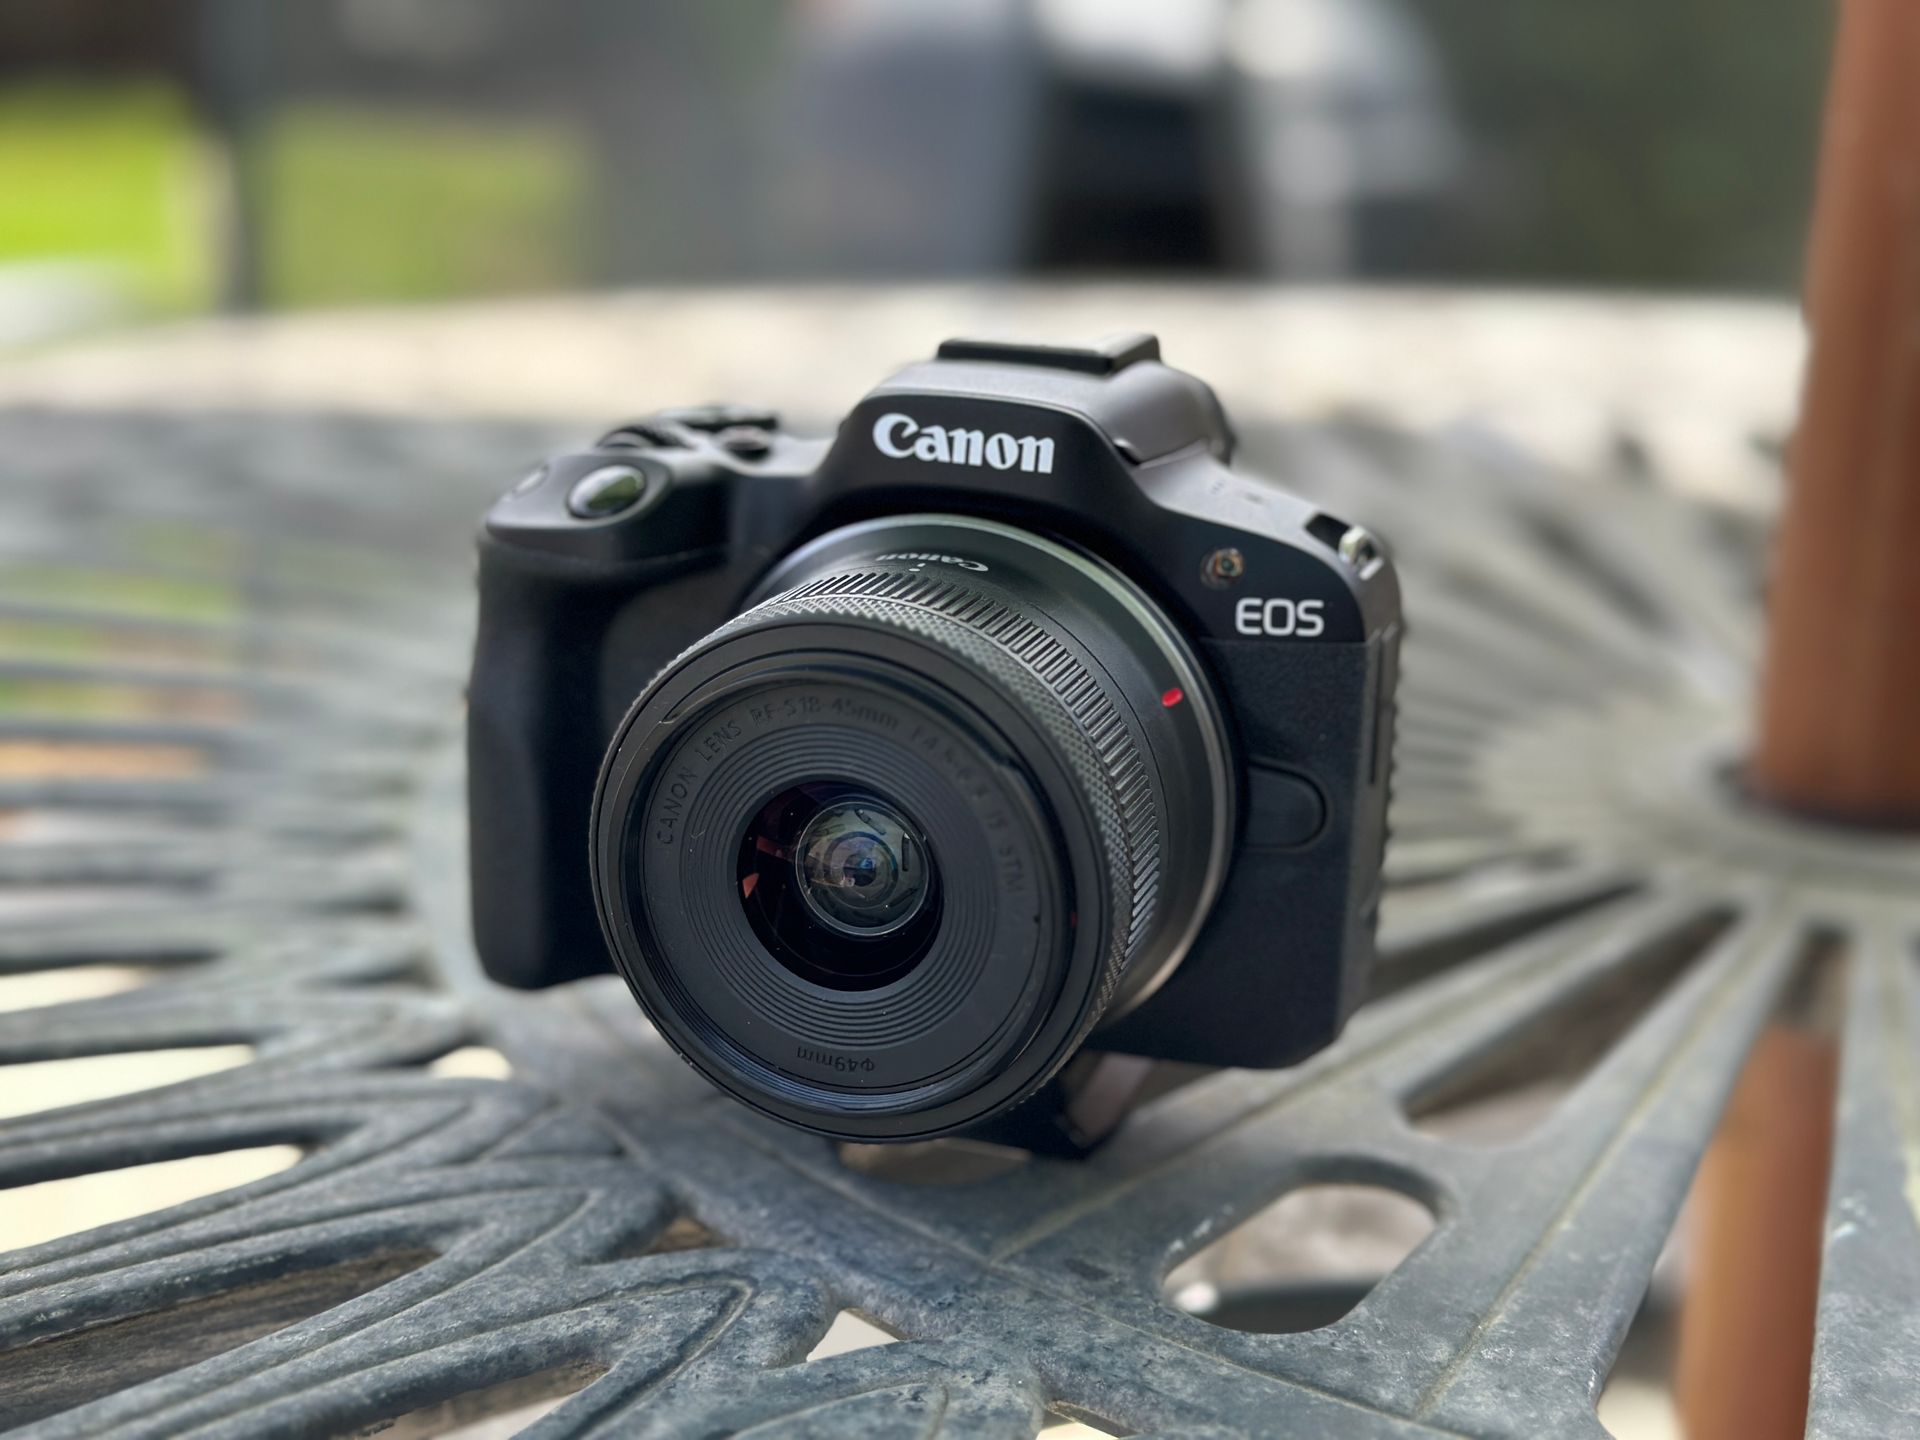
*The Canon R50 mirrorless (an entry-level mirrorless camera, around US$700) and a 50mm F1.8 prime lens (around US$180).*
*The concepts can also apply to DSLR cameras (such as Canon T6, T7, D80, Nikon D3500 etc)*
Depth of field depends on 5 factors:
1) Aperture
-The wider the aperture, the shallower the depth of field (more background blur).
2) Focal length
-The longer the focal length (e.g 85mm, 105mm, 135mm, 200mm), the shallower the depth of field.
3) Distance
-The closer you get to the subject, the more background blur you'll get
4) Distance from the background
-The farther away the subject from the background, the more background blur.
5) Crop sensor vs full frame cameras
-Full frame cameras have shallower depth of field
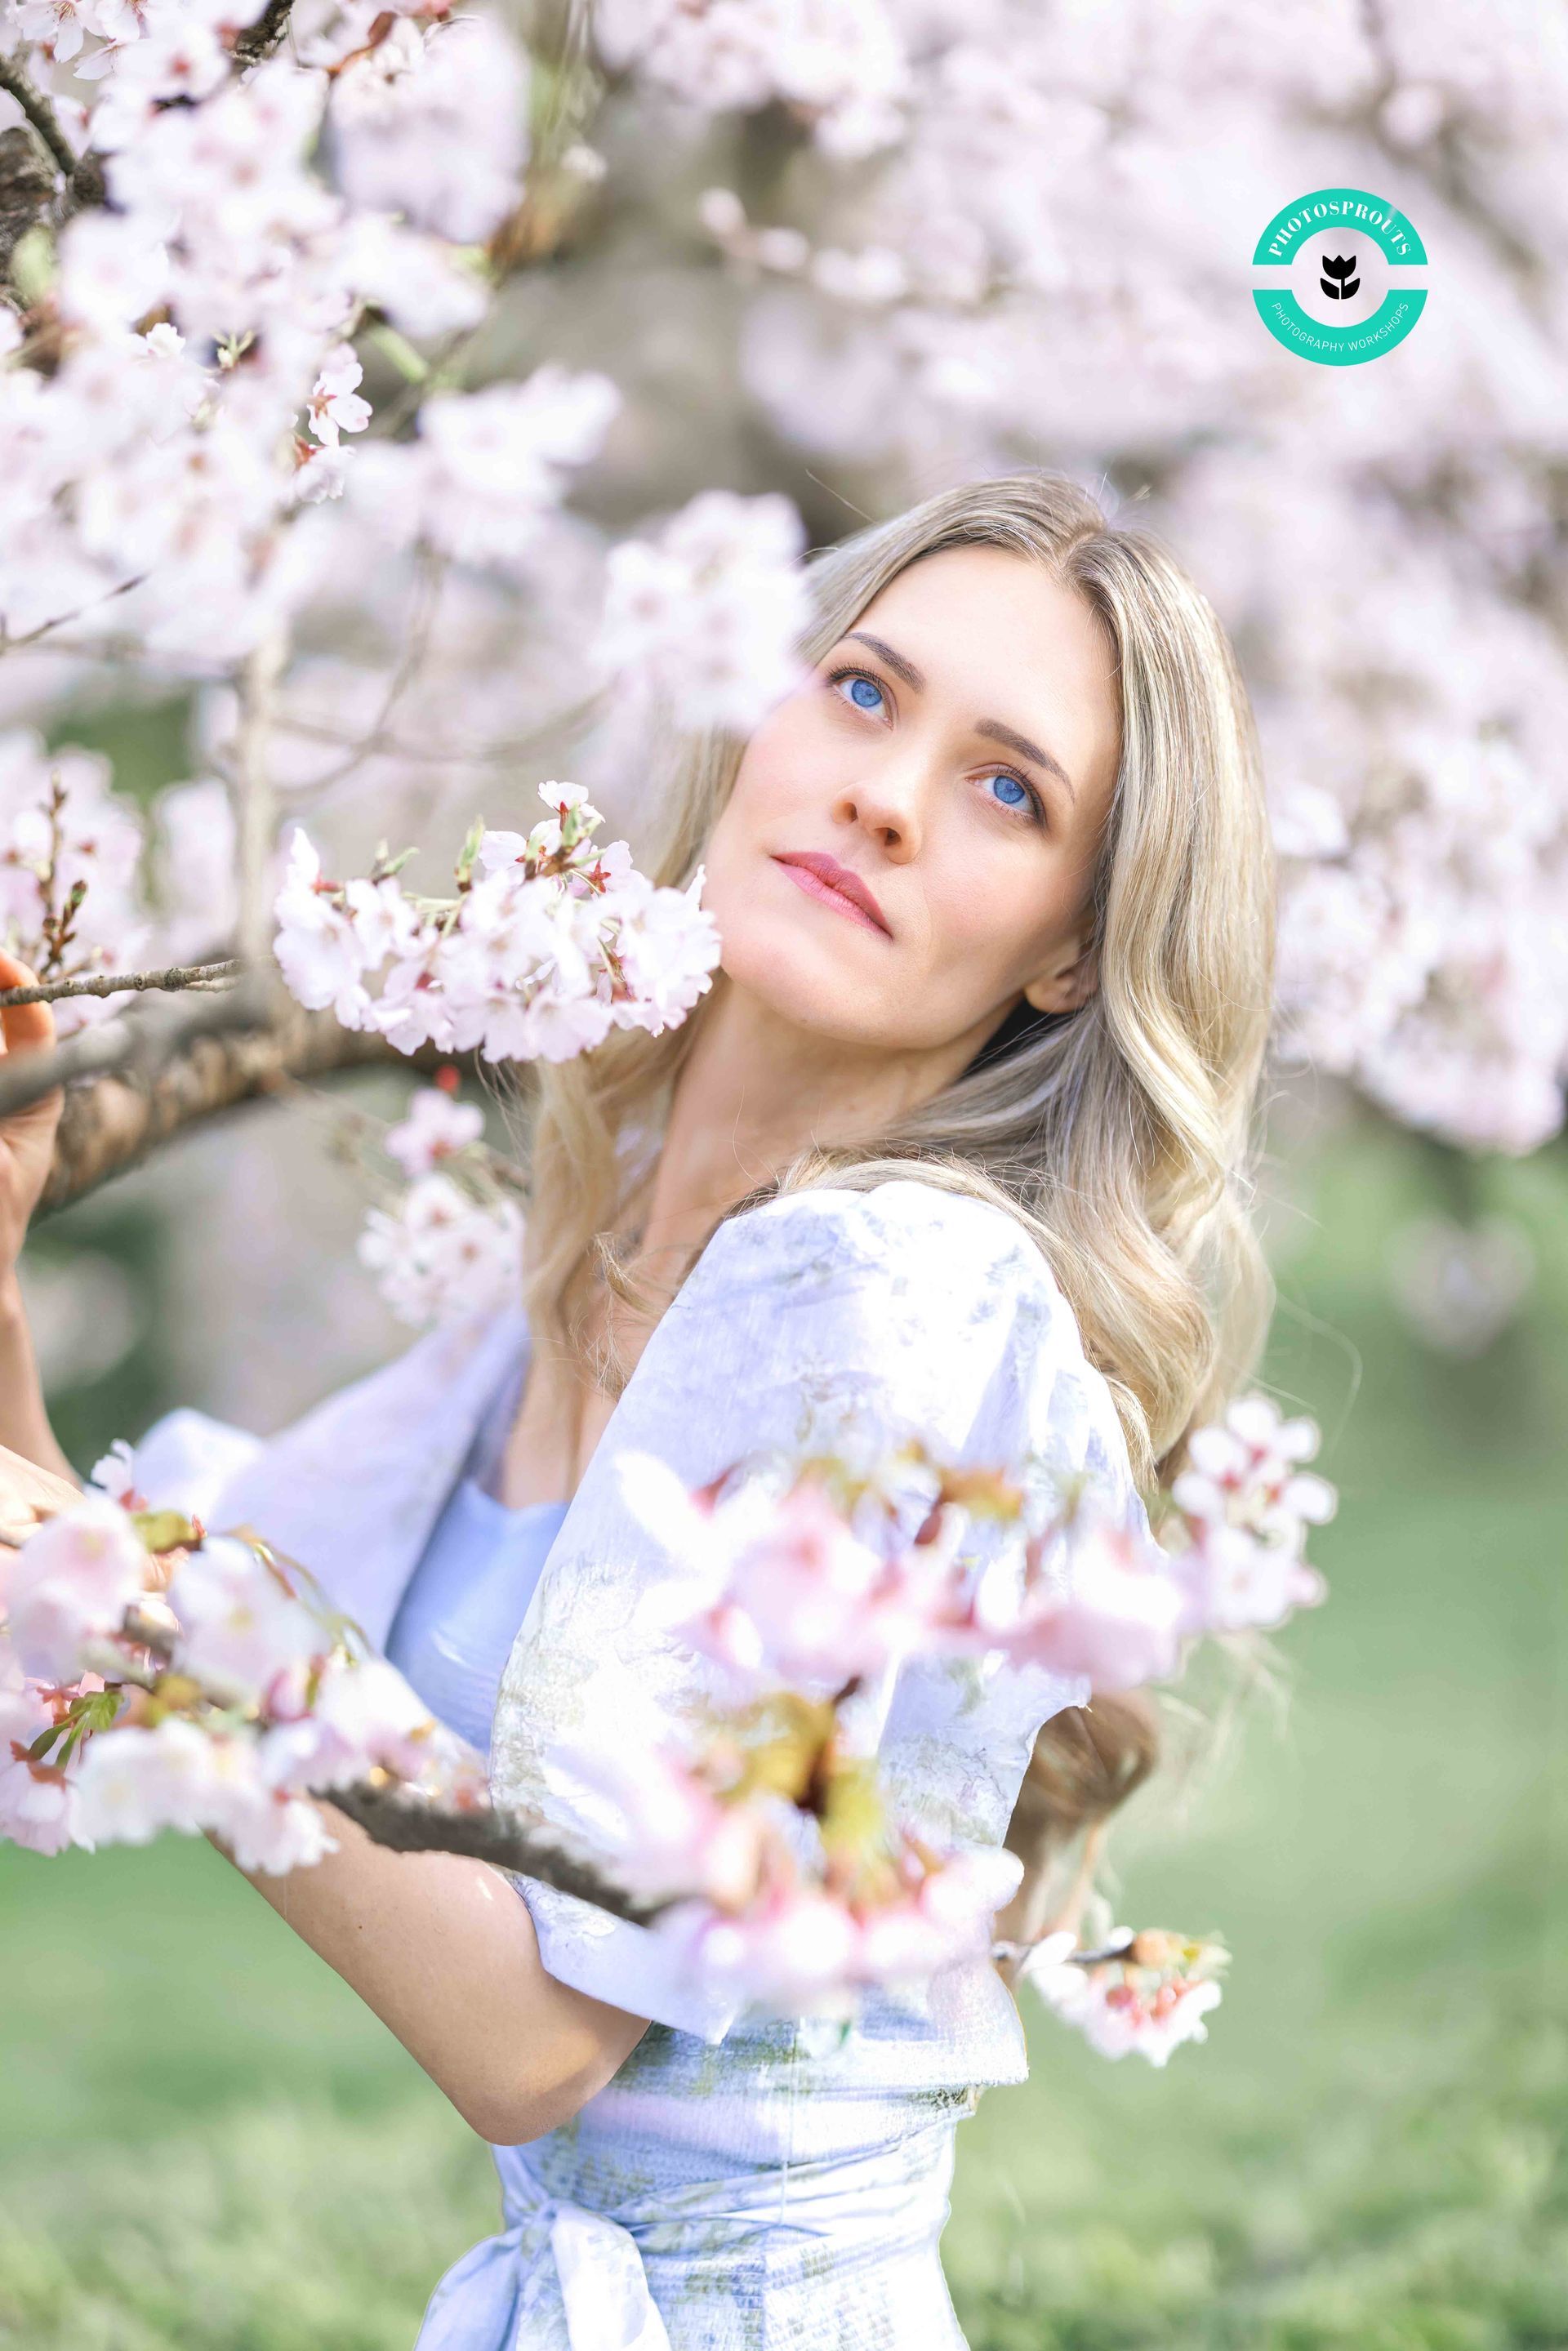
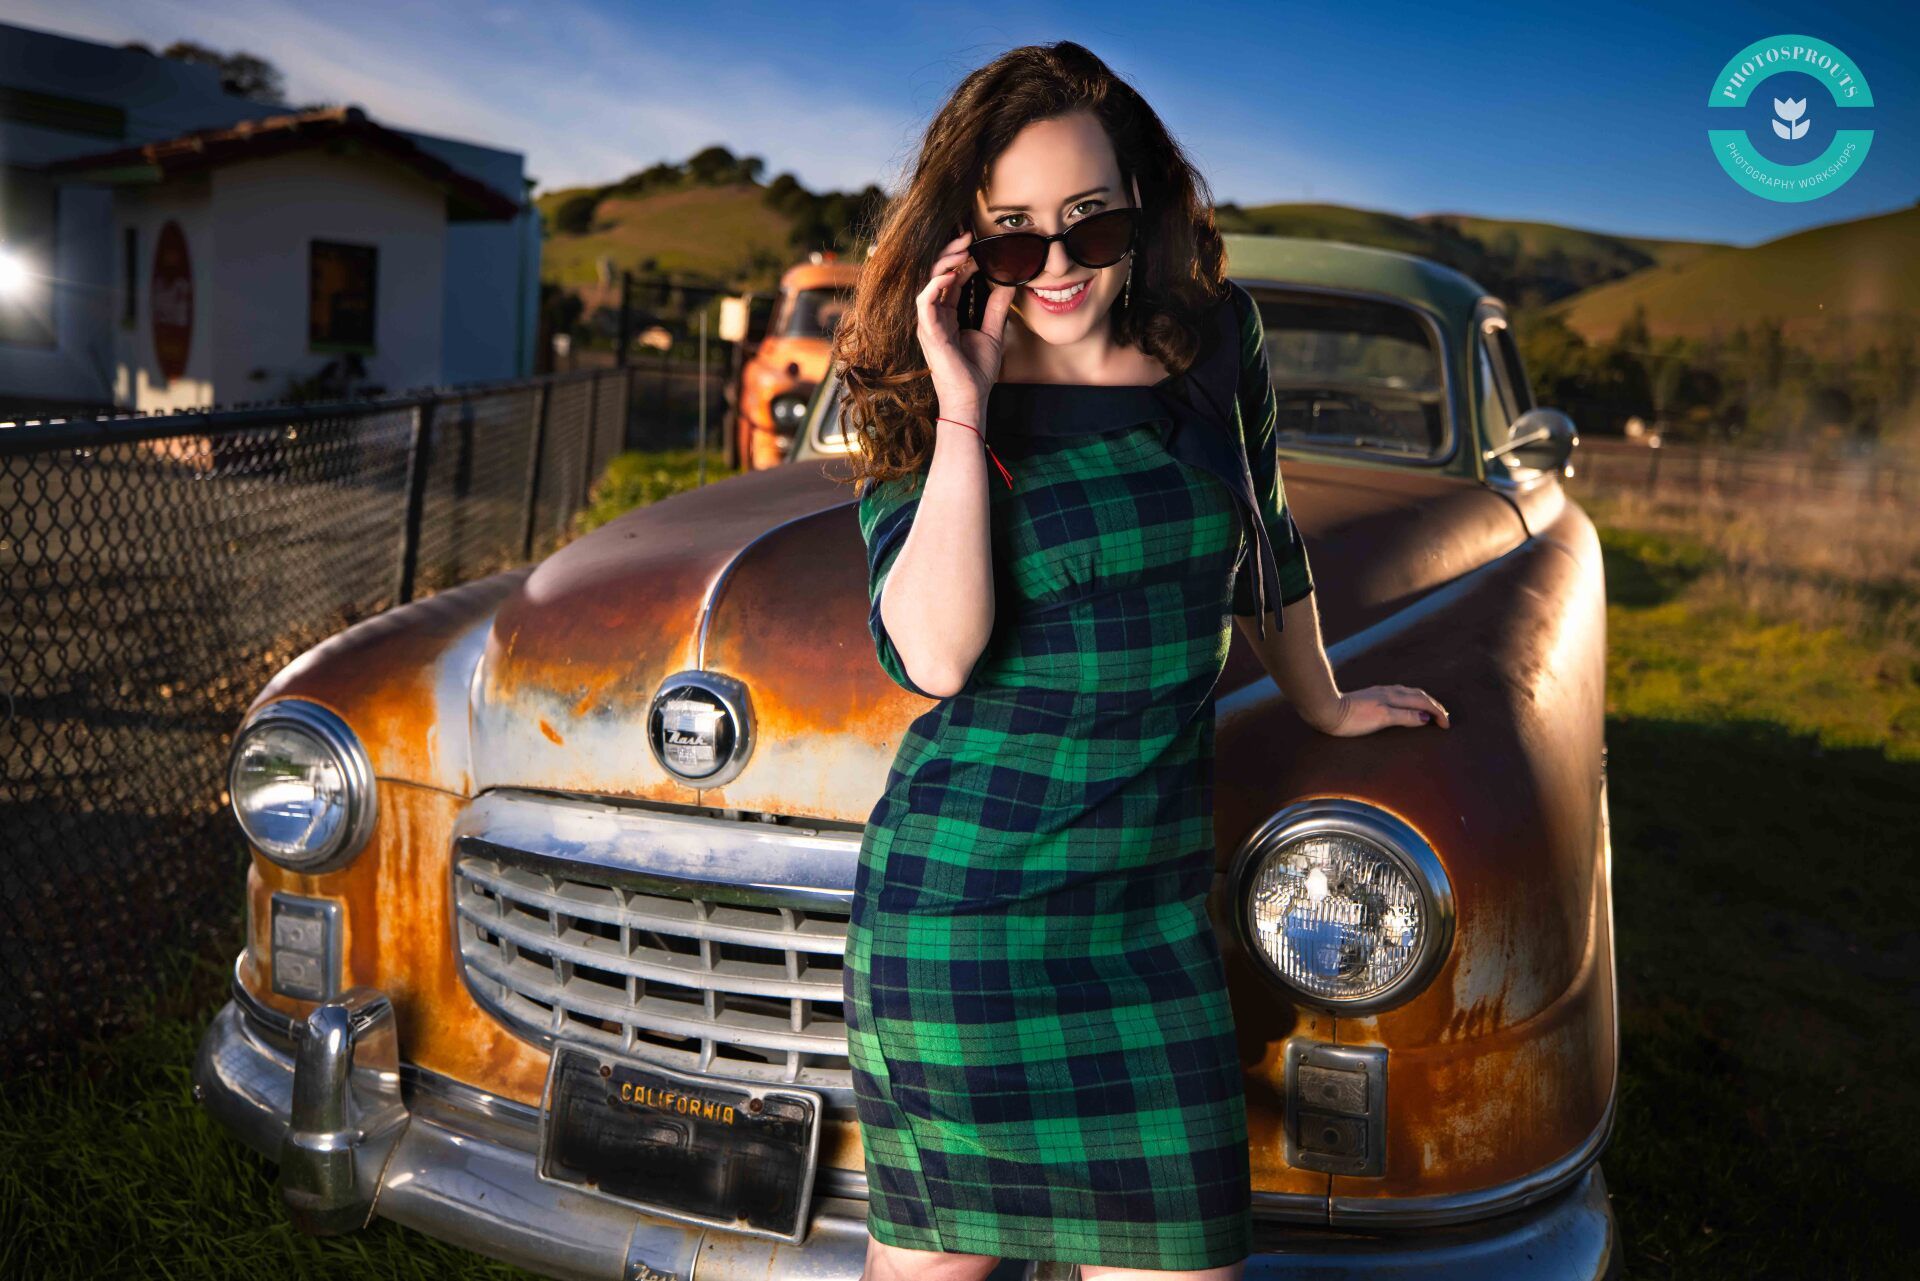
Shallow depth of field means background blur, which allows you to separate the subject from the background.
Therefore, in most portrait photoshoots, you can shallow depth of field.
However, there are times that you need deeper depth of field to showcase the context and sharpen the details on the subject (e.g a corporate headshot, fashion photoshoots).
The reason why I used the 50mm F1.8 lens is (not in the video):
1) Inexpensive (US$180)
2) it has a wide aperture of F1.8, which gives very shallow depth of field (background blur)
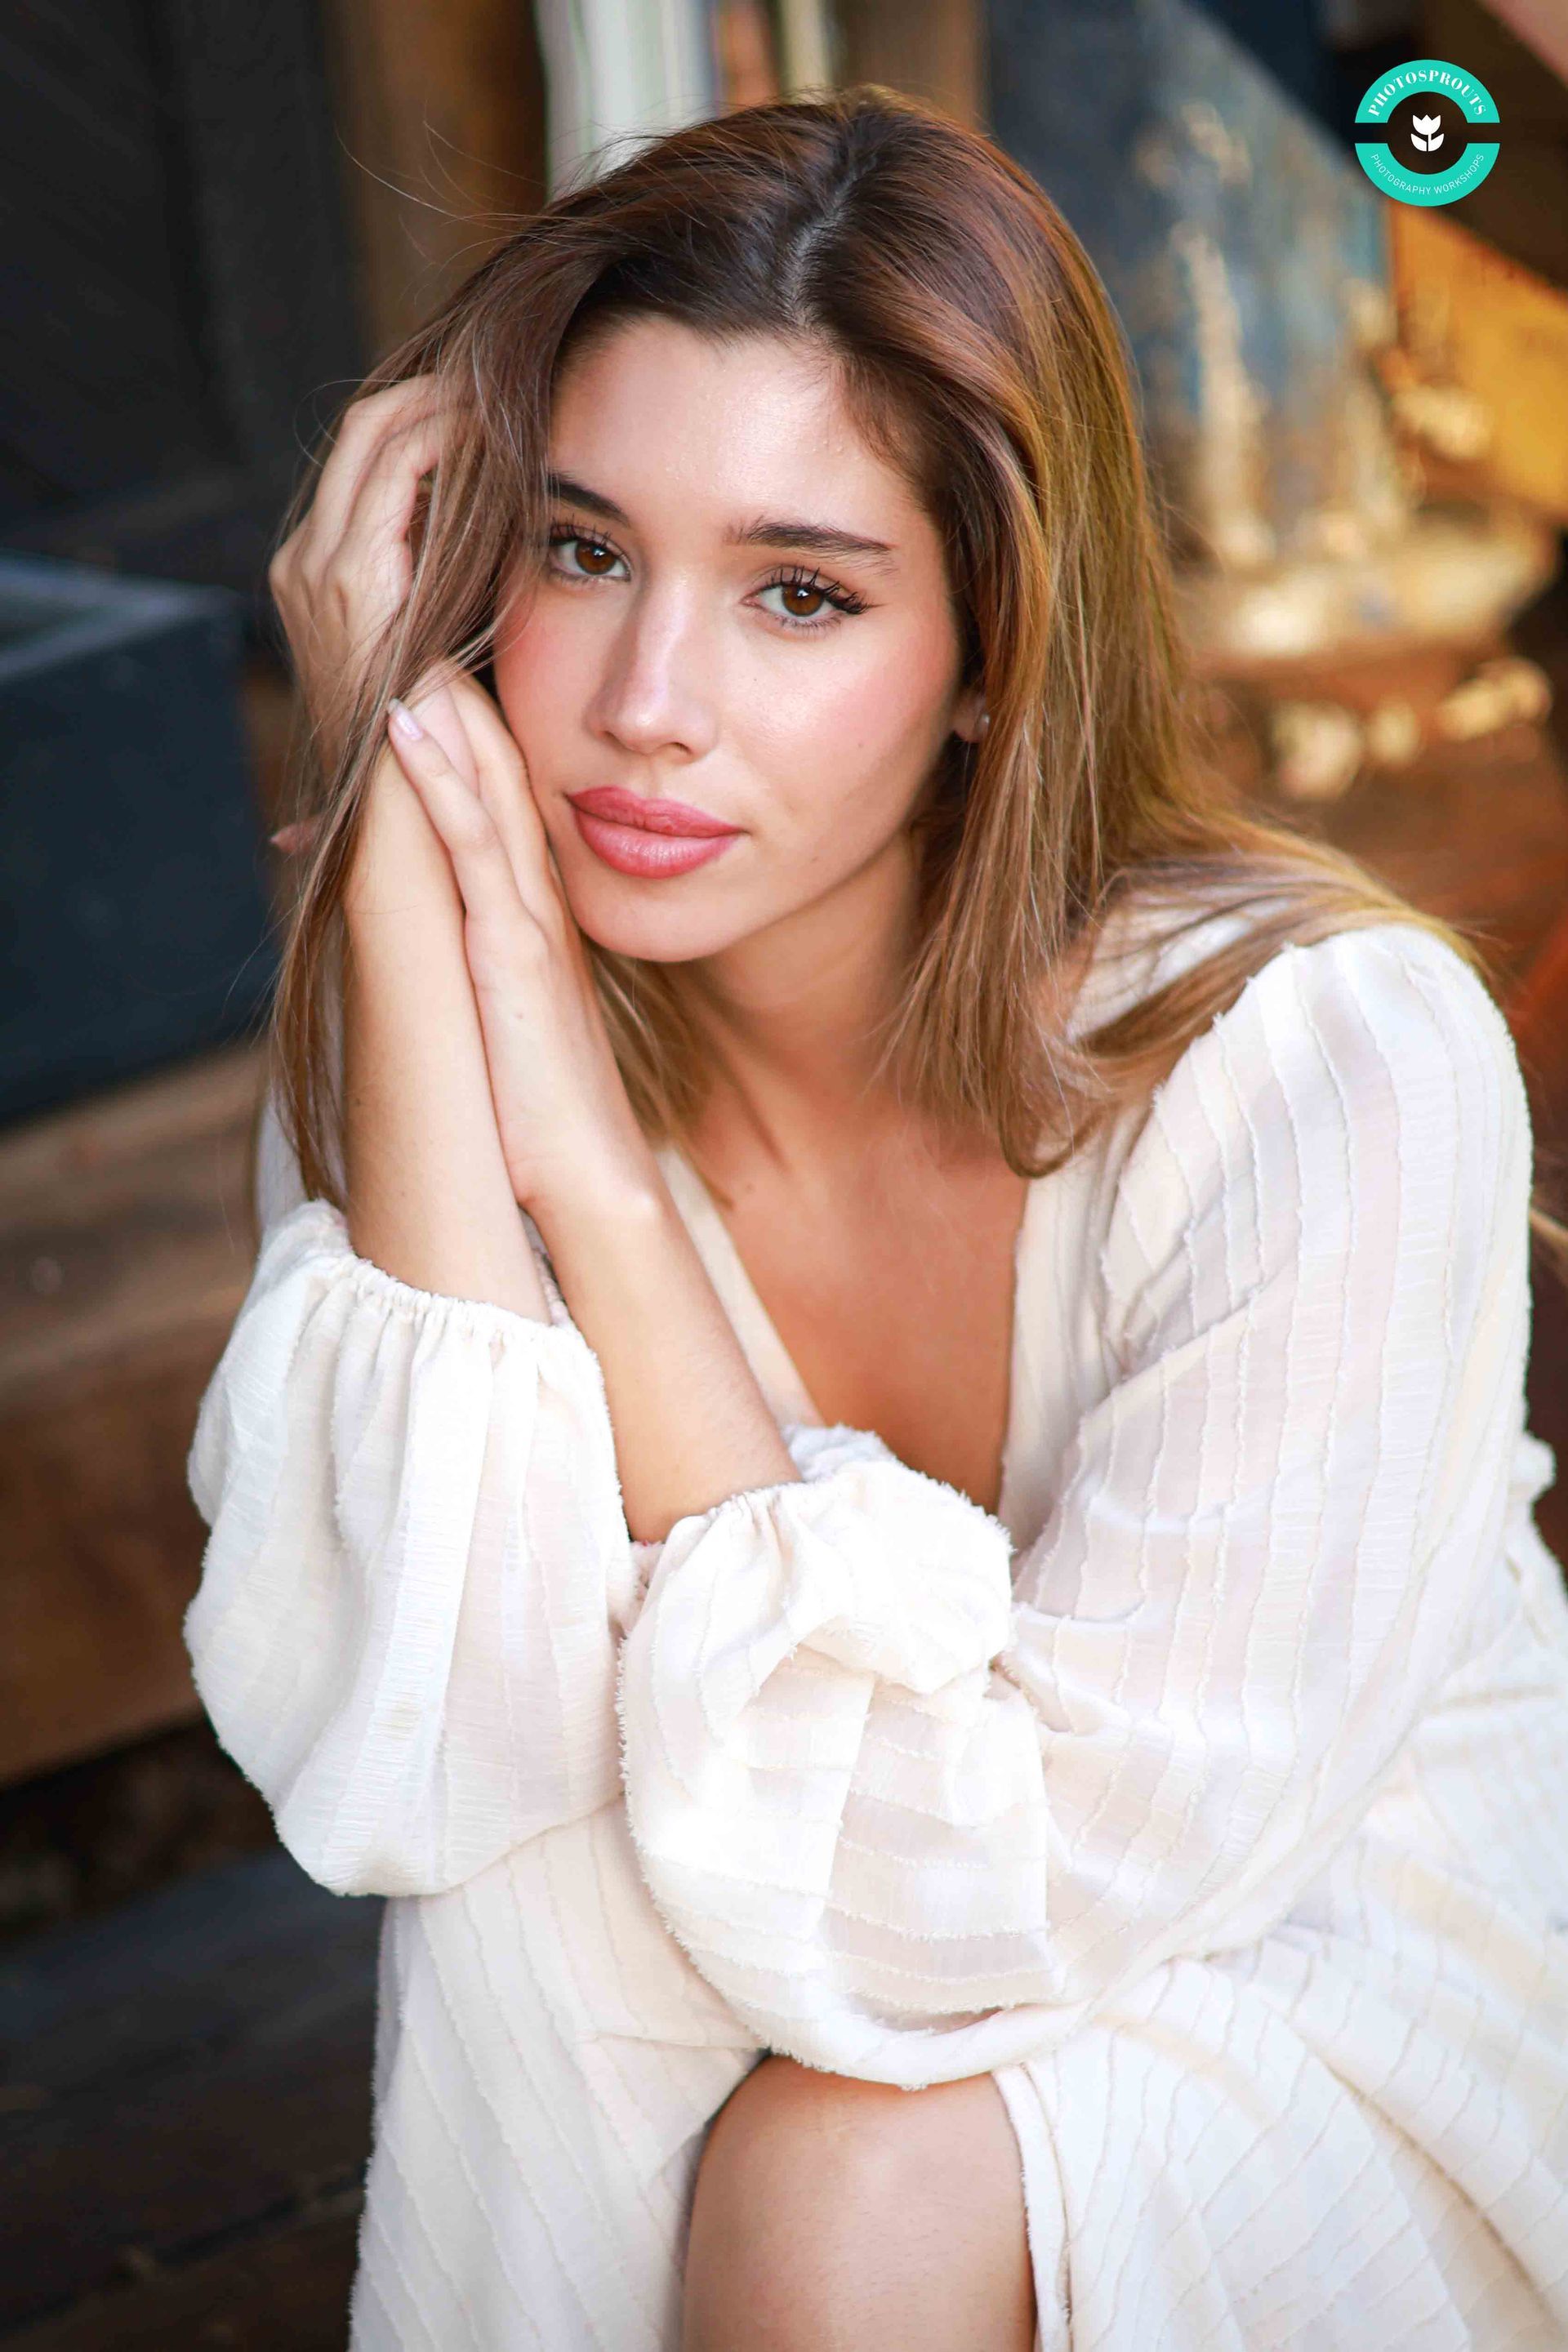
3) the actual, or the equivalent focal length is 80mm (50mm x 1.6), which is perfect for portraits in a sense that it won't result in face distortion, and the compression is nice for half body and close up shots.
Outline
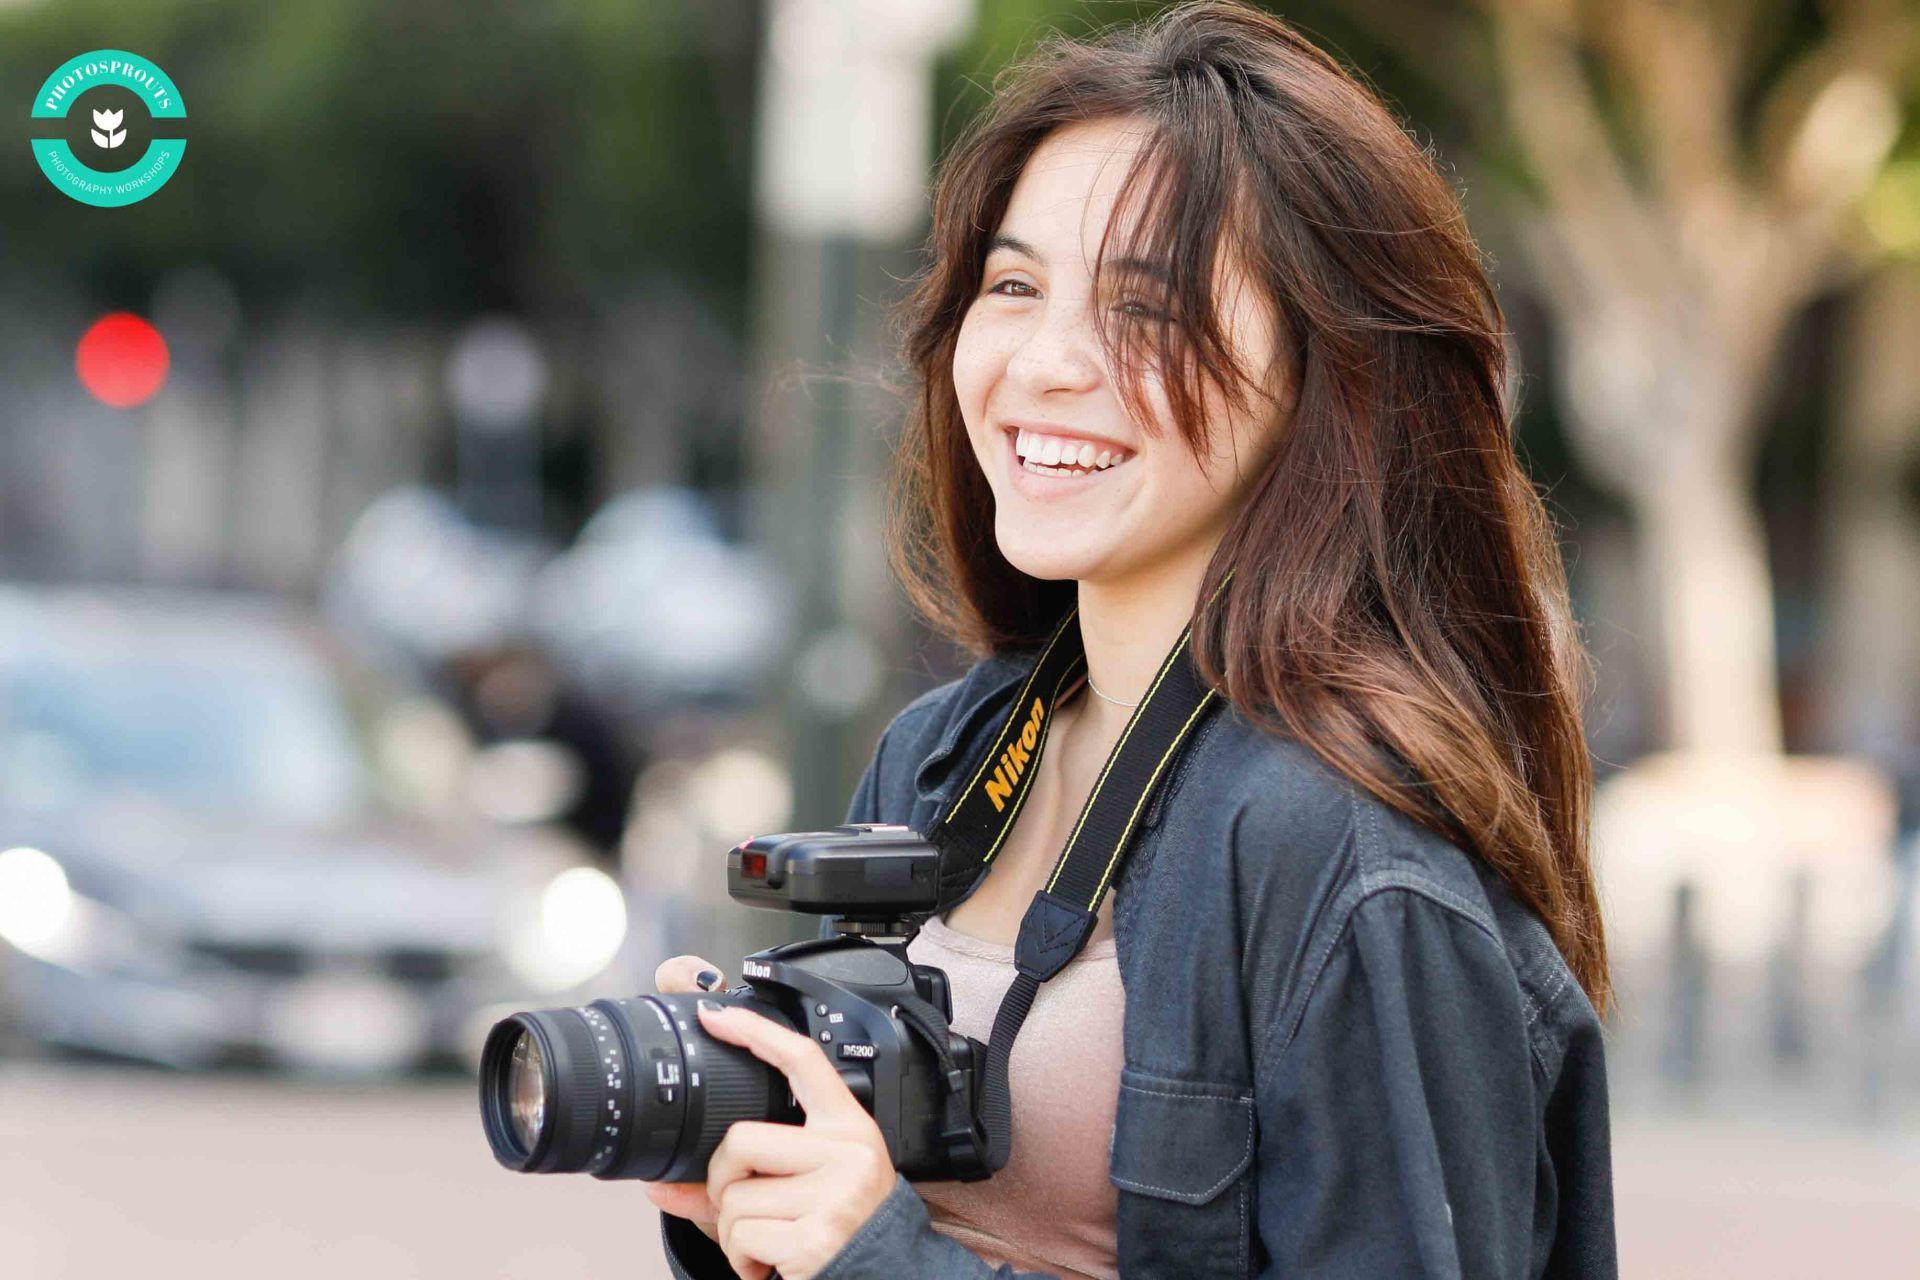
1) Why I love the Canon R50 (00:23):
-light but super powerful
-Fast, accurate focusing and Eye AF
-perfect for content creation, everyday photography and travel
-we provide the Canon R50 camera for every student in our intermediate photography workshops
2) There are 3 things to pay attention to before watching the behind the scenes (01:27):
a)
✍️ The R50 camera bundle often comes with the RF-S 18-45mm F4.5-6.3 kit lens, instead of the RF 50mm F1.8 prime lens.
✍️ I've created a separate tutorial for beginners on "How to Capture Amazing Portraits Using An Entry-Level Kit Lens:
https://photosproutsbeginner101.thinkific.com/pages/online-content-creator
b)
Use the Manual Mode of the camera to control the exposure, and it's not that hard.
✍️ Free Guide: 4 Steps to Shoot Fast on the Camera's Manual Mode
https://www.photosprouts.com/flashcardyoutube
c)
Don't worry if you are a DSLR camera user, the knowledge can still be applied to your equipment.
3) The behind the scenes (02:39):
-The 50mm lens' actual focal length is 80mm (50mm x 1.6 crop factor = 80mm).
-80mm is a great focal length for portraits, and you'll not get weird distortions on the face in close up shots.
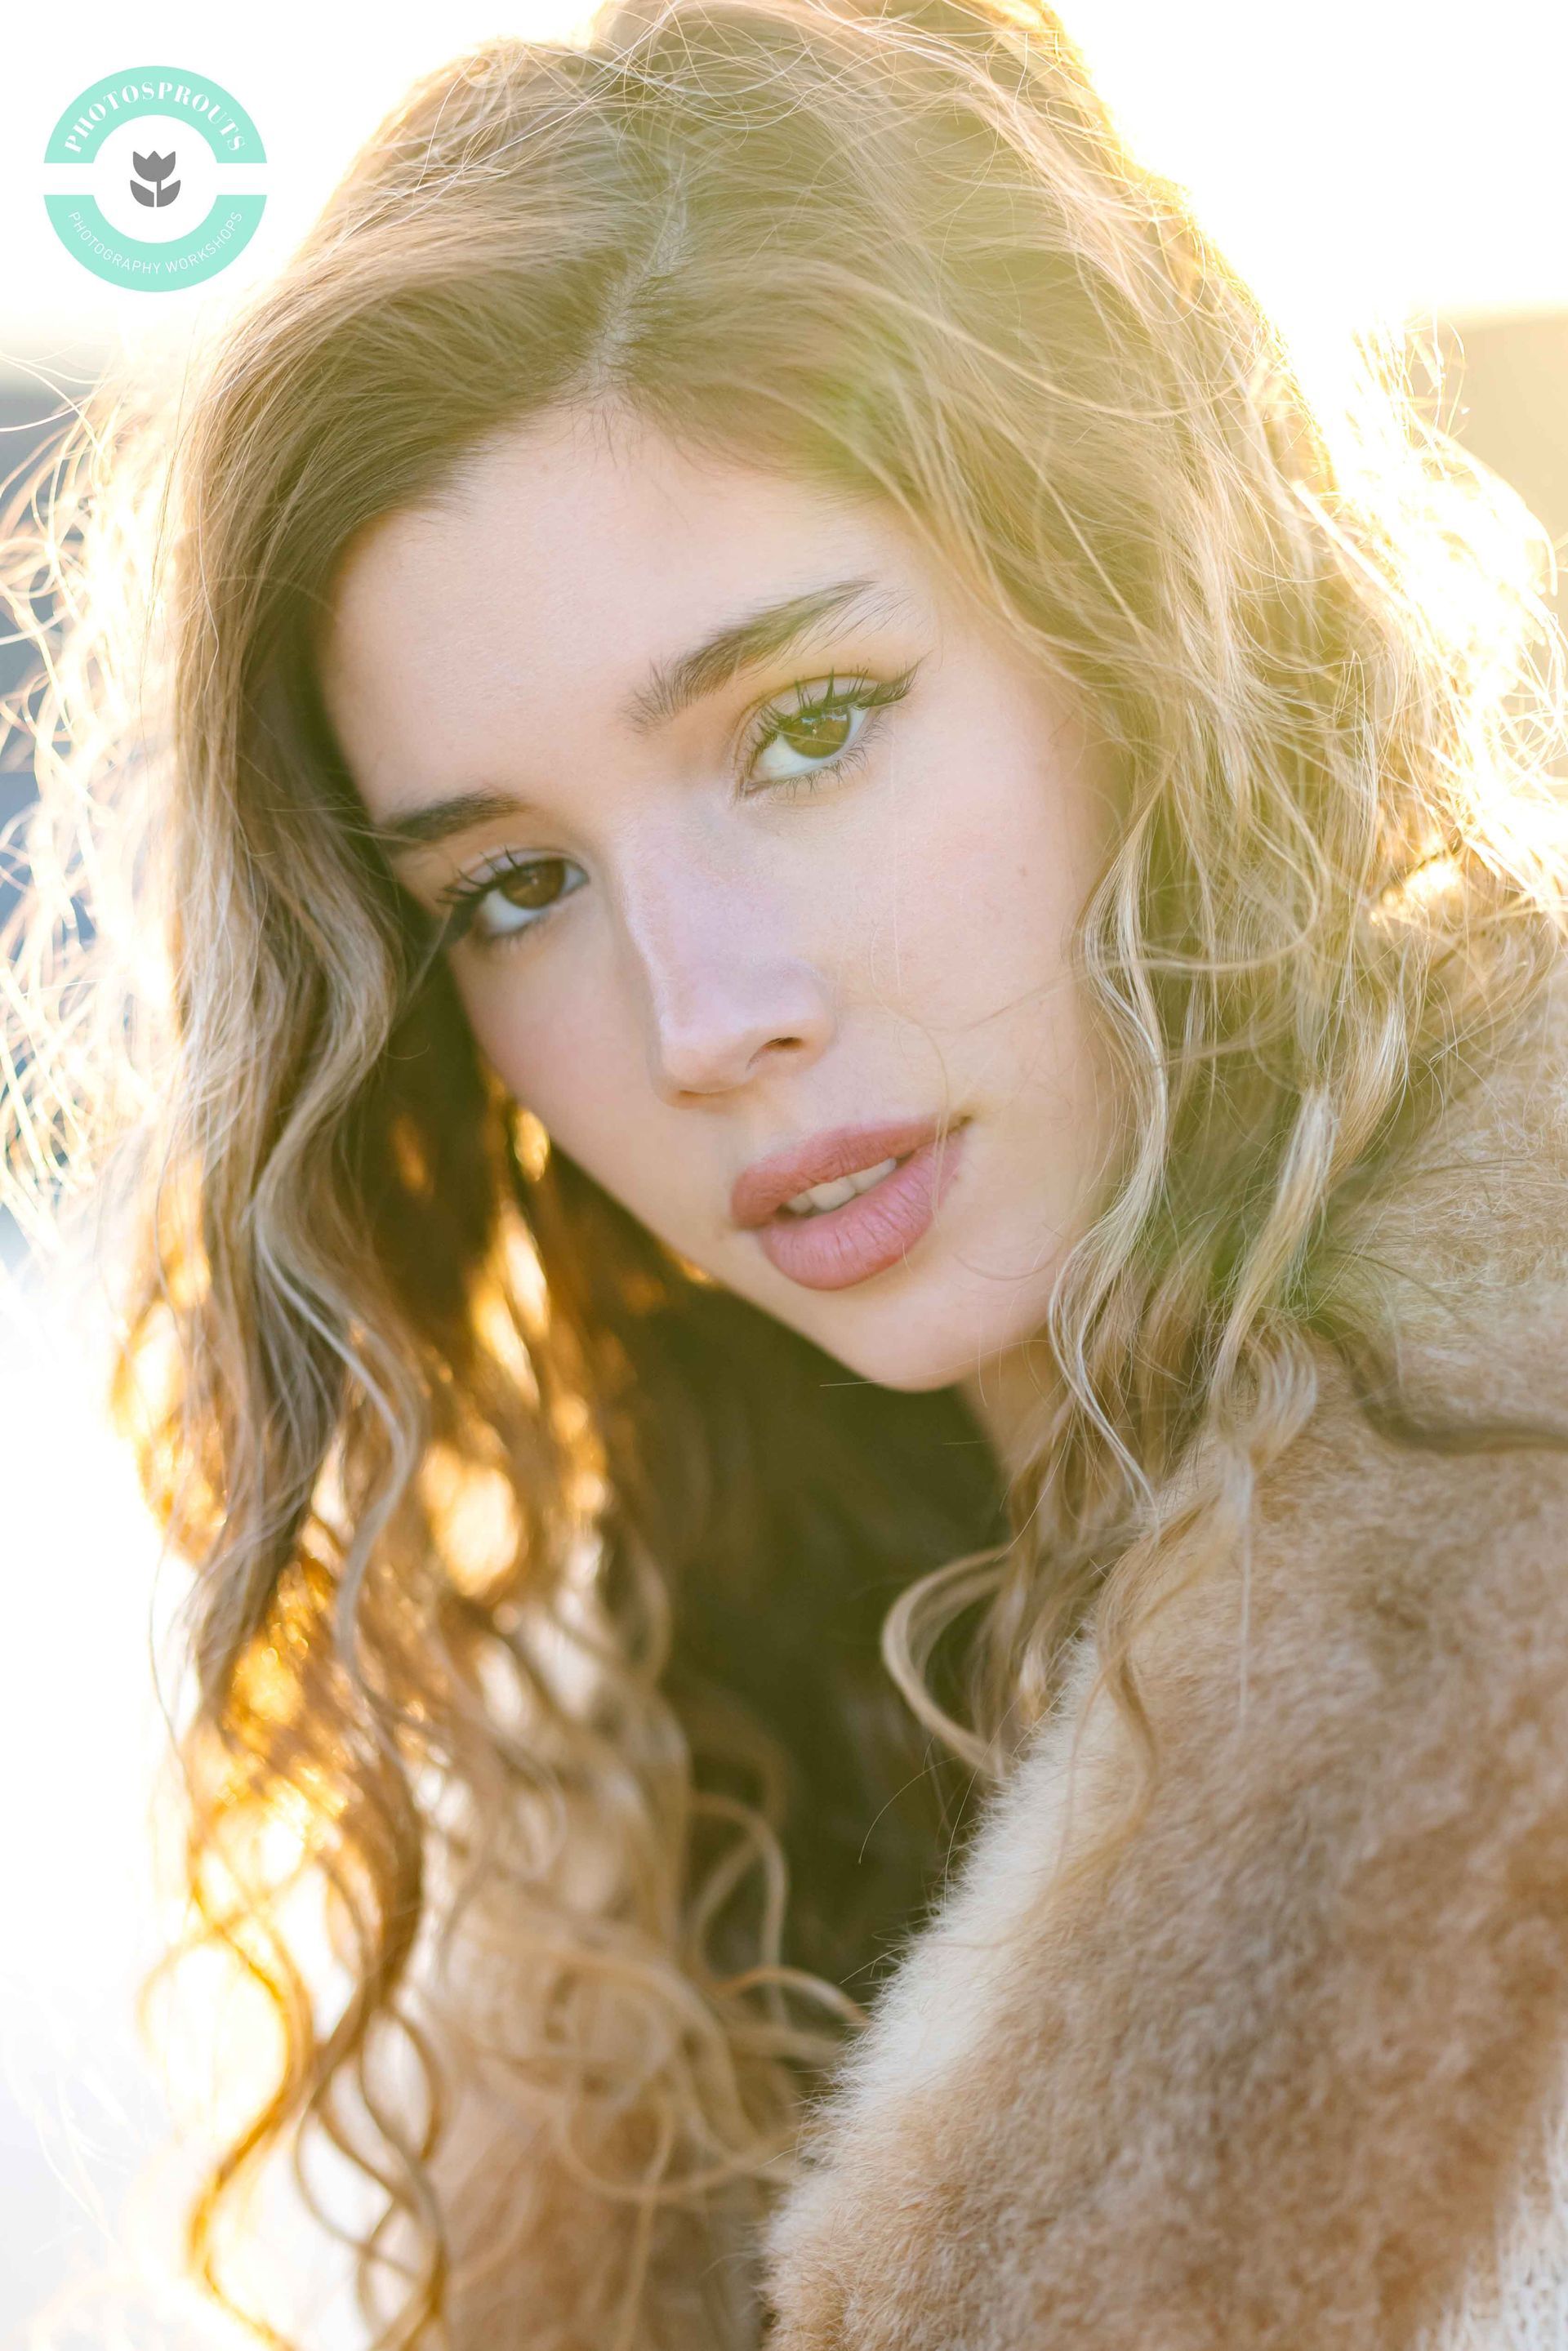
-Natural light portrait: find an open shade in which the light on the subject's face is even, clean and bright.
-Within the open shade, look for hair light.
4) Equipment:
Canon R50 camera: https://amzn.to/4caGgDg
Canon RF 50mm F1.8: https://amzn.to/3uXpruM
5) The only thing that I don't like about the R50 (not mentioned in the video):
-An adaptor, AD-E1 is needed when you use an external/ off-camera flash.
-AD-E1 is always on back order!
-Please watch my other tutorial to learn how to use the adaptor to fire an external flash on the R50 camera:
https://www.youtube.com/watch?v=sBUpIJjbgEU&t=169s